Easy steps to find the channel/newsletter ID from WhatsApp and start sending messages. #
Requirements:
-
WhatsApp Web logged in on a browser
-
Chrome or Firefox (Chrome preferred)
-
Access to the channel/newsletter
Steps: #
Step 1: Install Chrome Extension #
- Install the SyncMate Chrome Extension from the Chrome Web Store: 👉 Install SyncMate Extension

Step 2: Open WhatsApp Web #
- Open WhatsApp Web and make sure you’re logged in

Step 3: Open the Target channel/newsletter chat #
-
-
A small badge will automatically appear at the bottom-right showing the channel/newsletter ID.
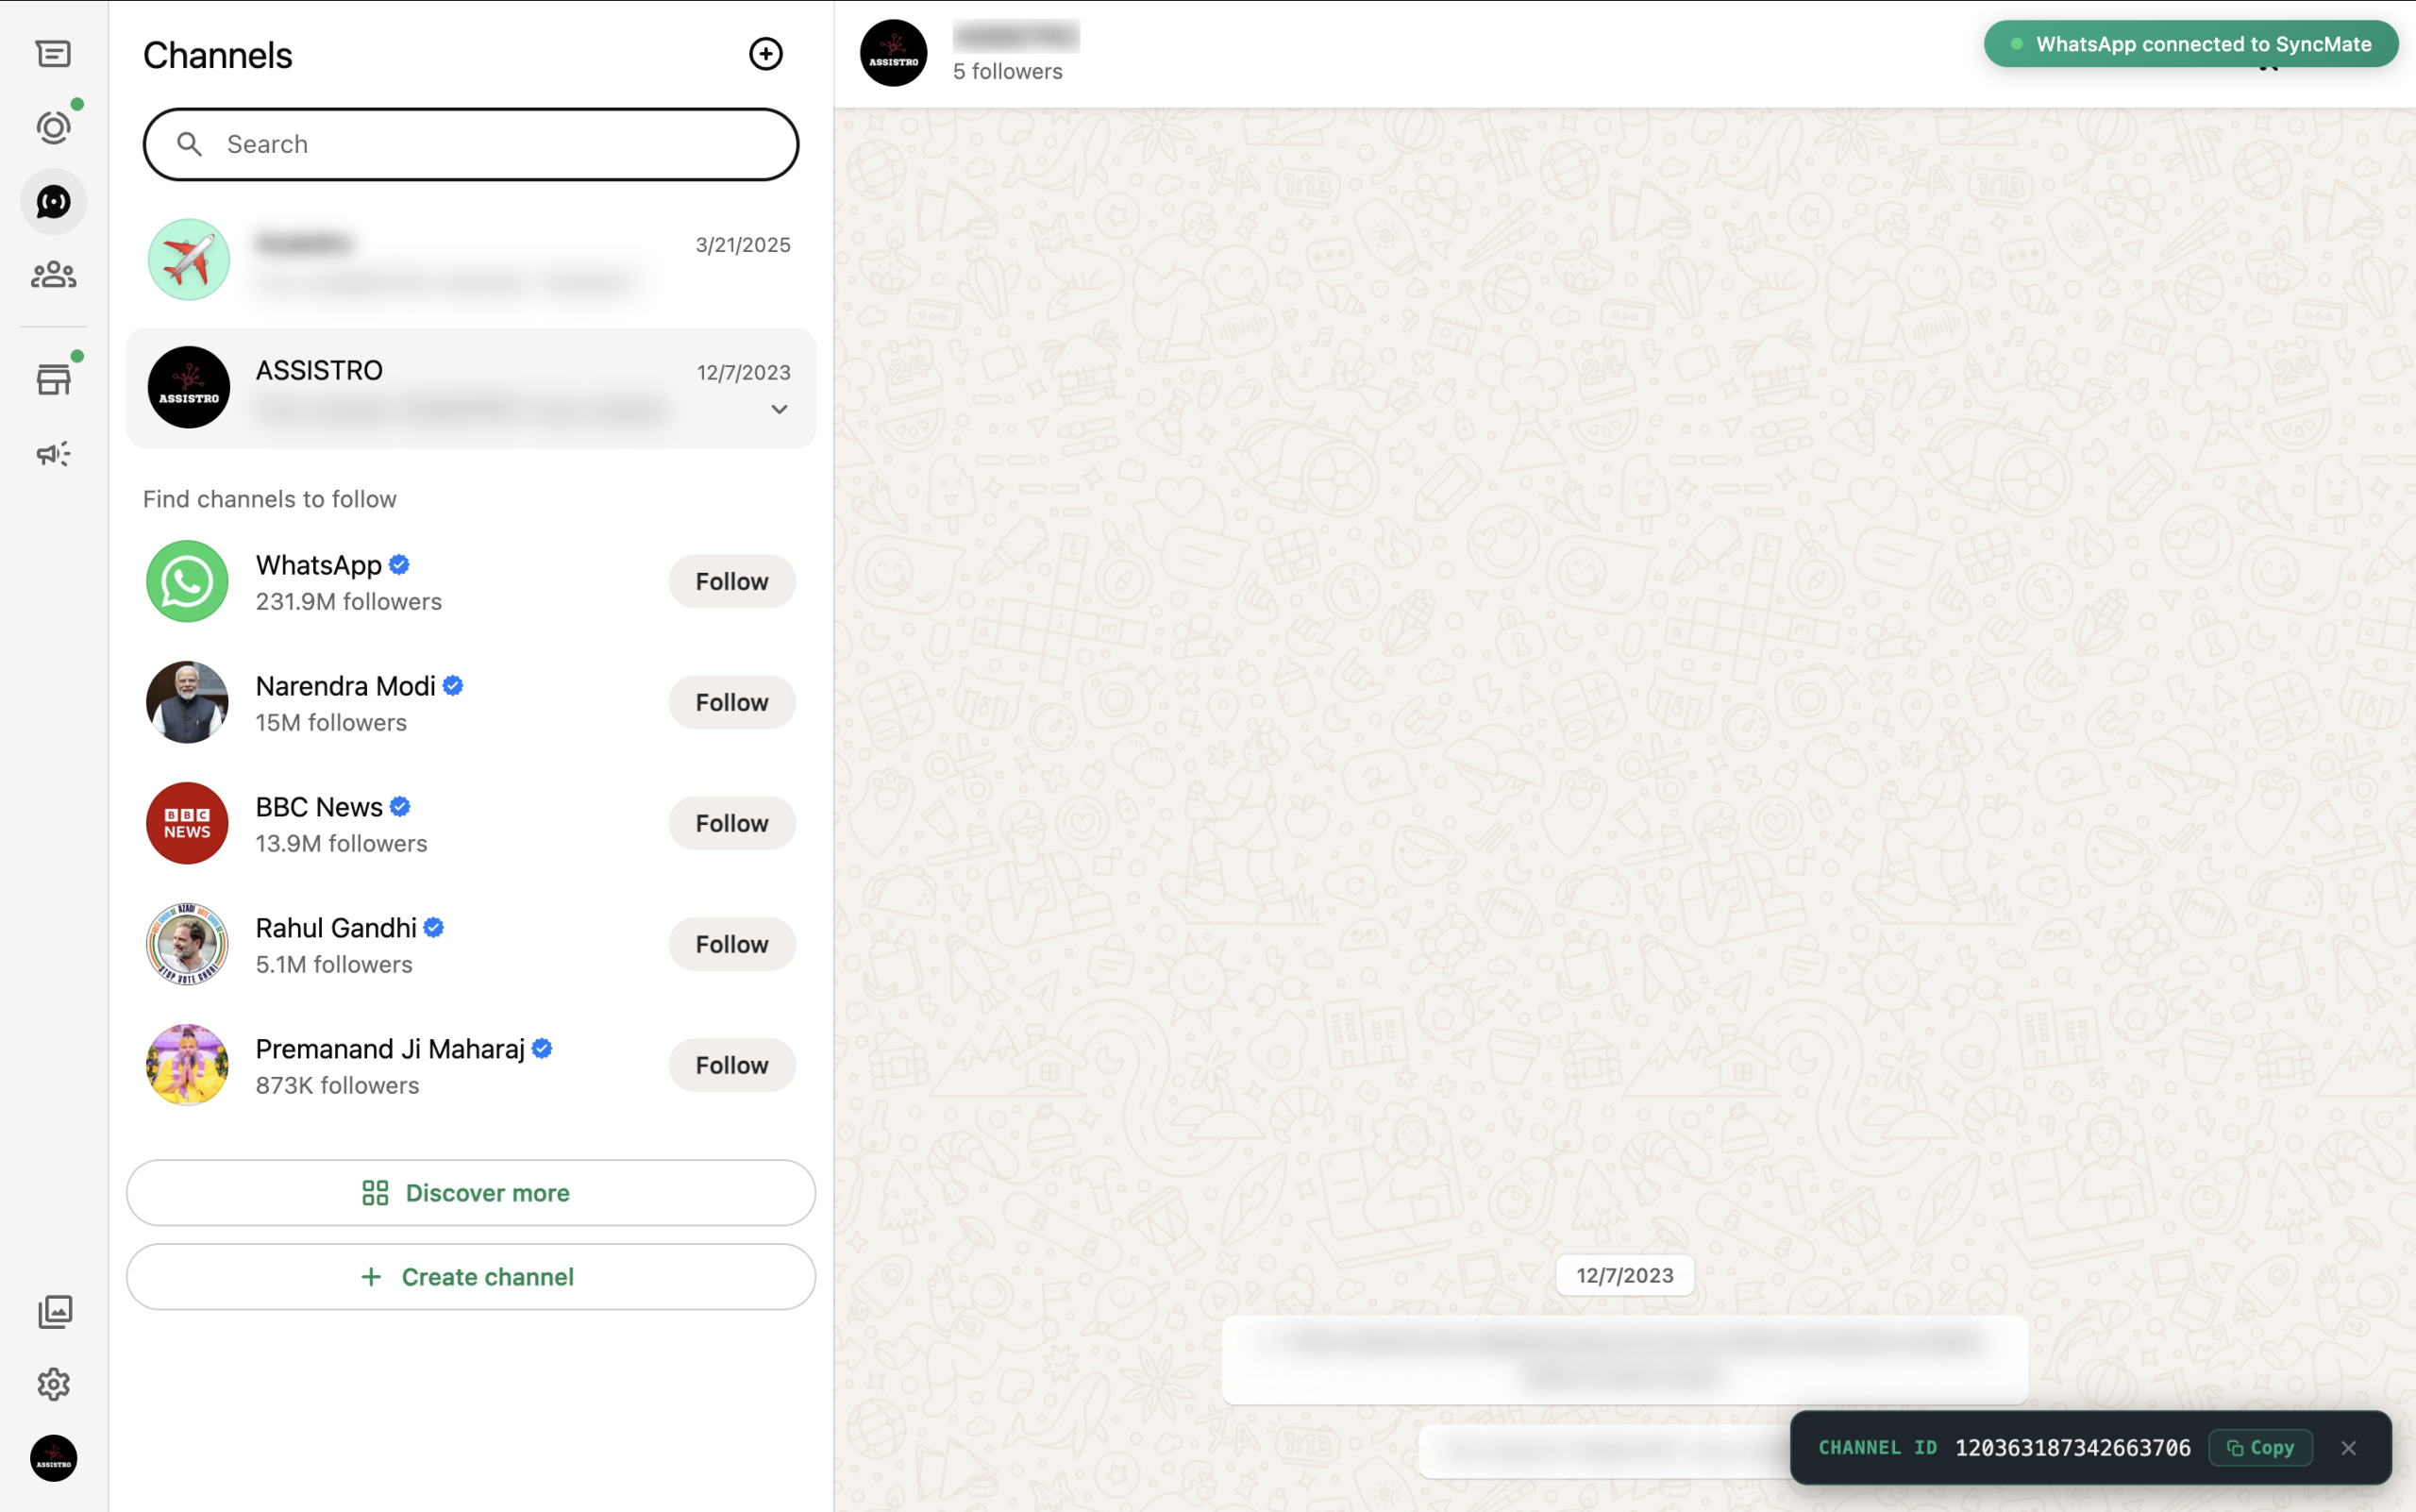
Step 4: Copy the channel/newsletter ID #
-
Click Copy to copy the full ID to your clipboard
-
The badge auto-closes after 5 seconds, or click ✕ to close it manually
- The copied value (e.g
1234******456@newsletter)is your channel/newsletter ID.