Webhooks allow you to receive real-time HTTP notifications when specific events happen in your connected WhatsApp account. This guide will walk you through activating the required API and configuring your webhook endpoints.
Step 1: Activate the Advance API #
Before setting up webhooks, you need to ensure the Advance API is active.
-
From your SyncMate dashboard, navigate to the App .

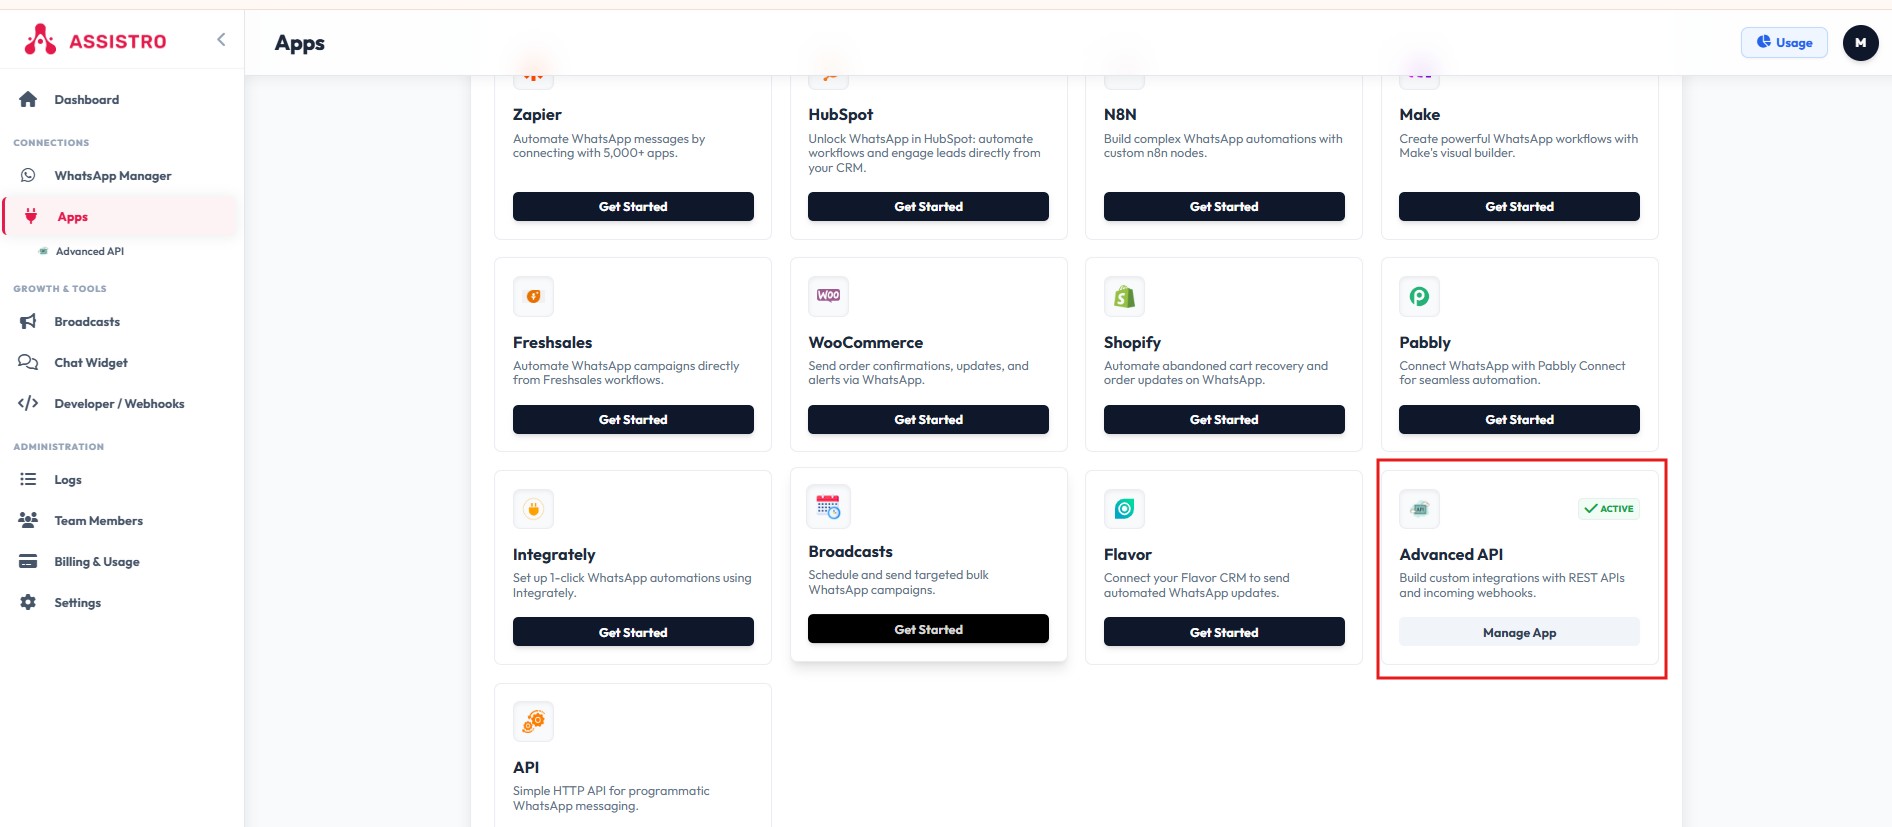
The Advance API app must be activated.
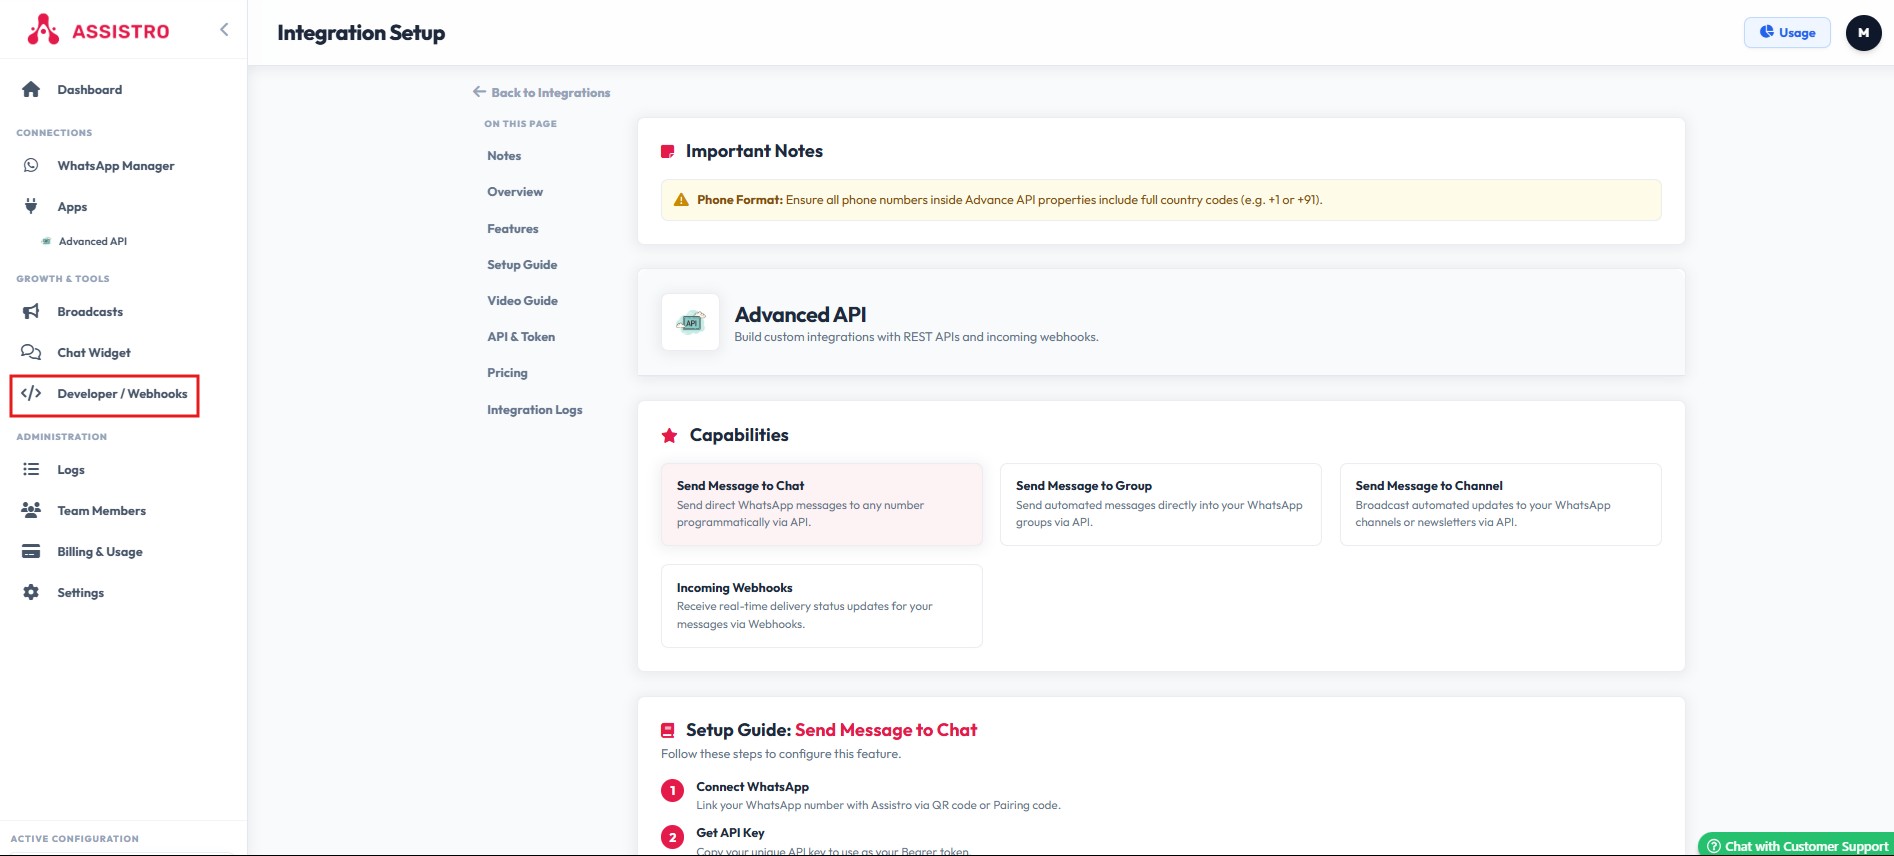
Step 2: Navigate to the Webhooks Manager #
-
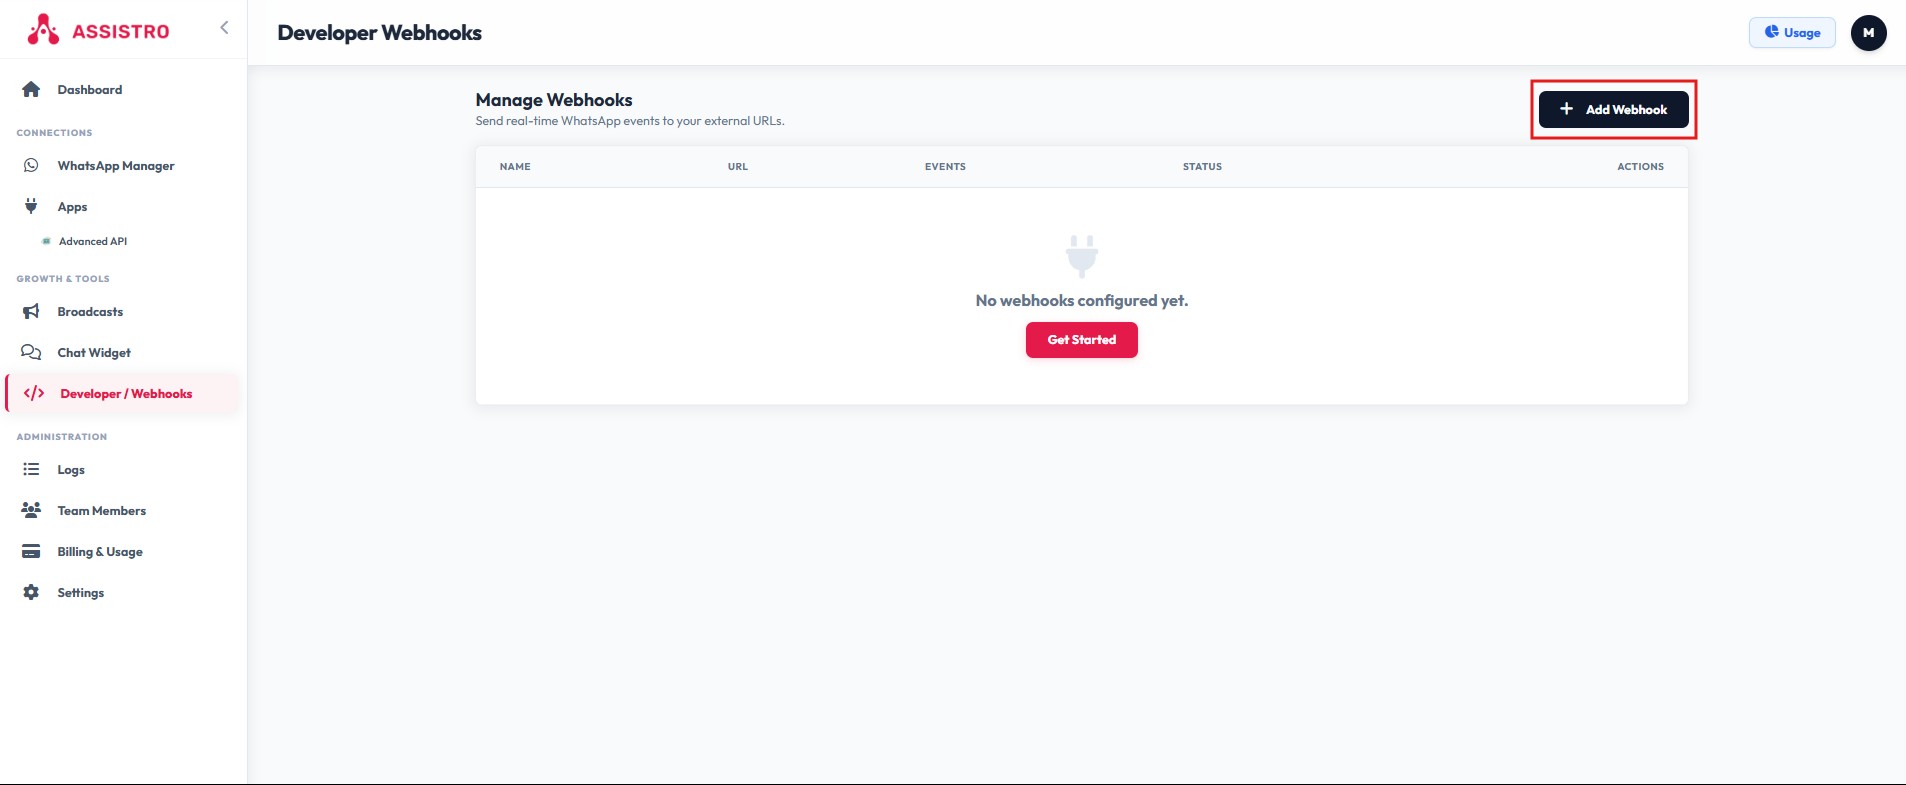
Click on Webhooks to open the Webhooks management page.
-
Click the red + Add Webhook button situated on the right side of the screen.
Step 3: Configure Your Webhook Details #
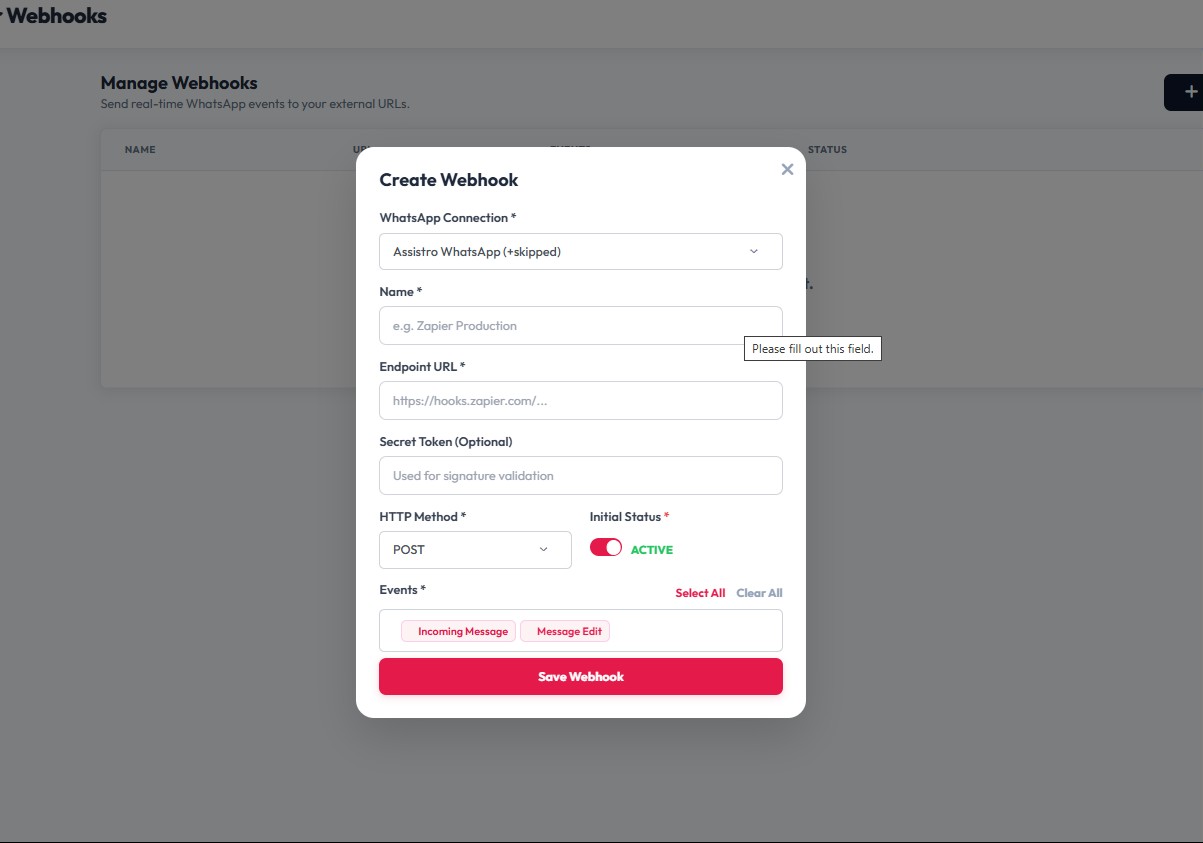
An “Add/Edit Webhook” modal will appear where you can configure exactly where and how your data should be sent.
Fill out the following fields:
- WhatsApp connection
-
Name (*): Enter a clear, descriptive name for your webhook so you can identify it later.
-
Webhook Endpoint URL (*): Paste the destination URL that will receive the HTTP requests.
-
Method (*): Select the HTTP method you want to use for the request. POST is standard for sending data payloads.
Step 4: Choose Your Event Types #
Click on the Event Types (*) field to open the dropdown menu. You can select one or more of the following WhatsApp events to trigger your webhook:
-
Incoming Message
-
Message Edit
-
Message Delete
-
Message Sent
-
Message Delivered
-
Message Read

Step 5: Enable and Save #
-
Click the Initial status toggle to ensure your webhook is turned on.
-
Click the Save Webhook button to save your configuration.
Your webhook will now appear in your management table and will begin sending data to your endpoint as soon as the selected events occur.