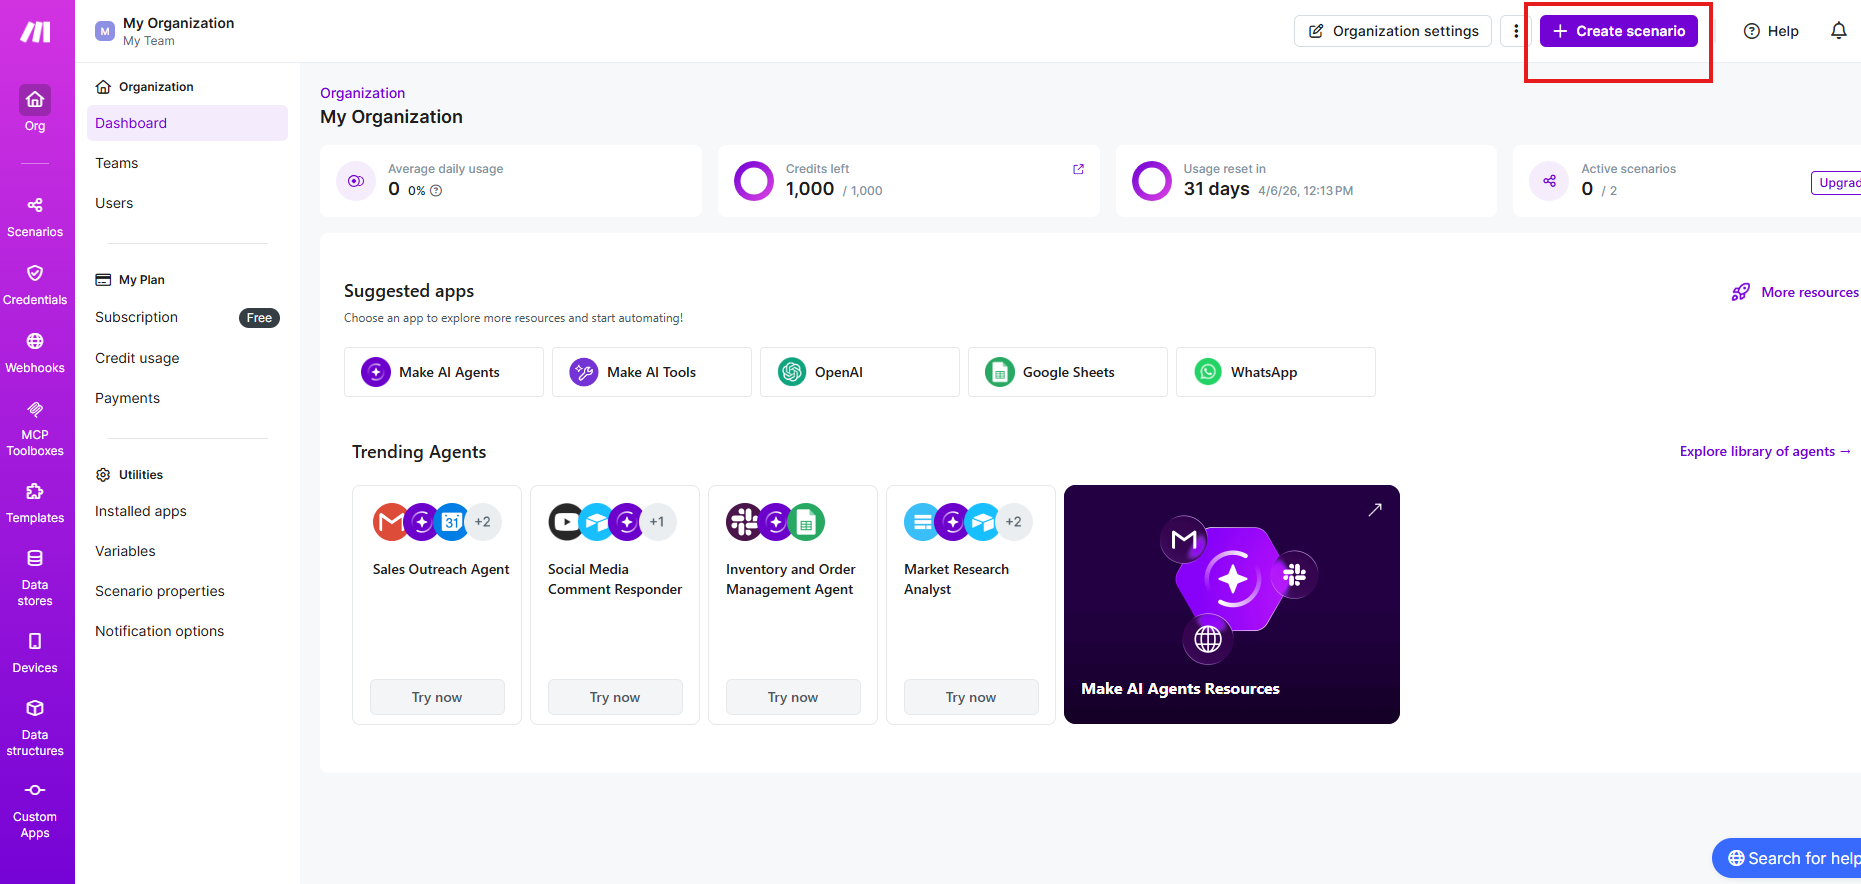
Create a Scenario & Add a Trigger #
Log in to Make.
Click Create a new scenario.
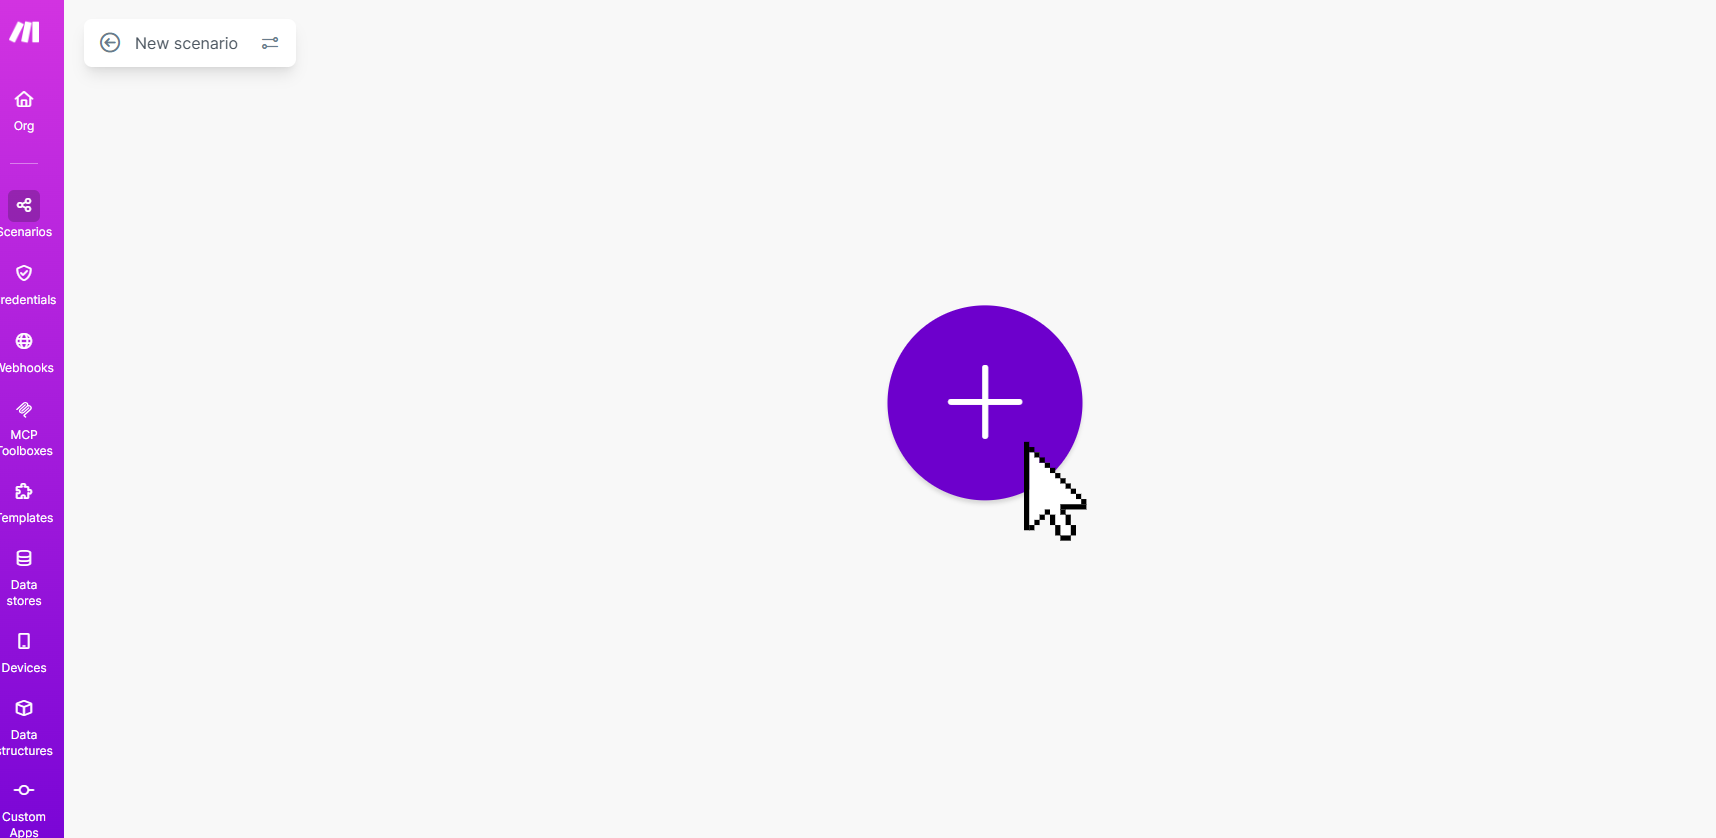
Click the + button.
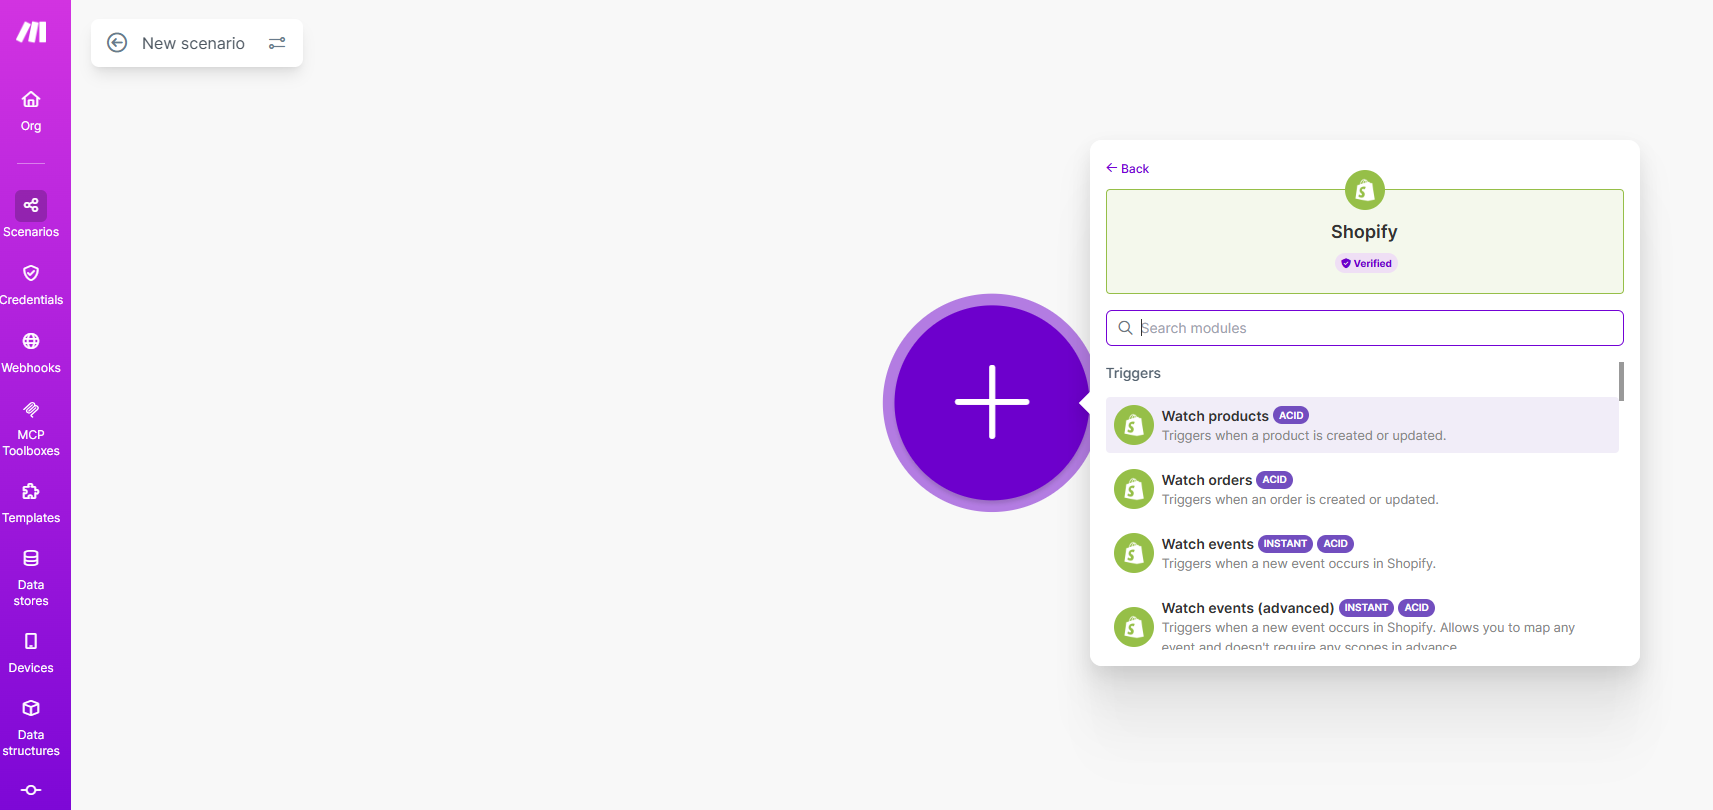
Add a Trigger module based on your requirement.
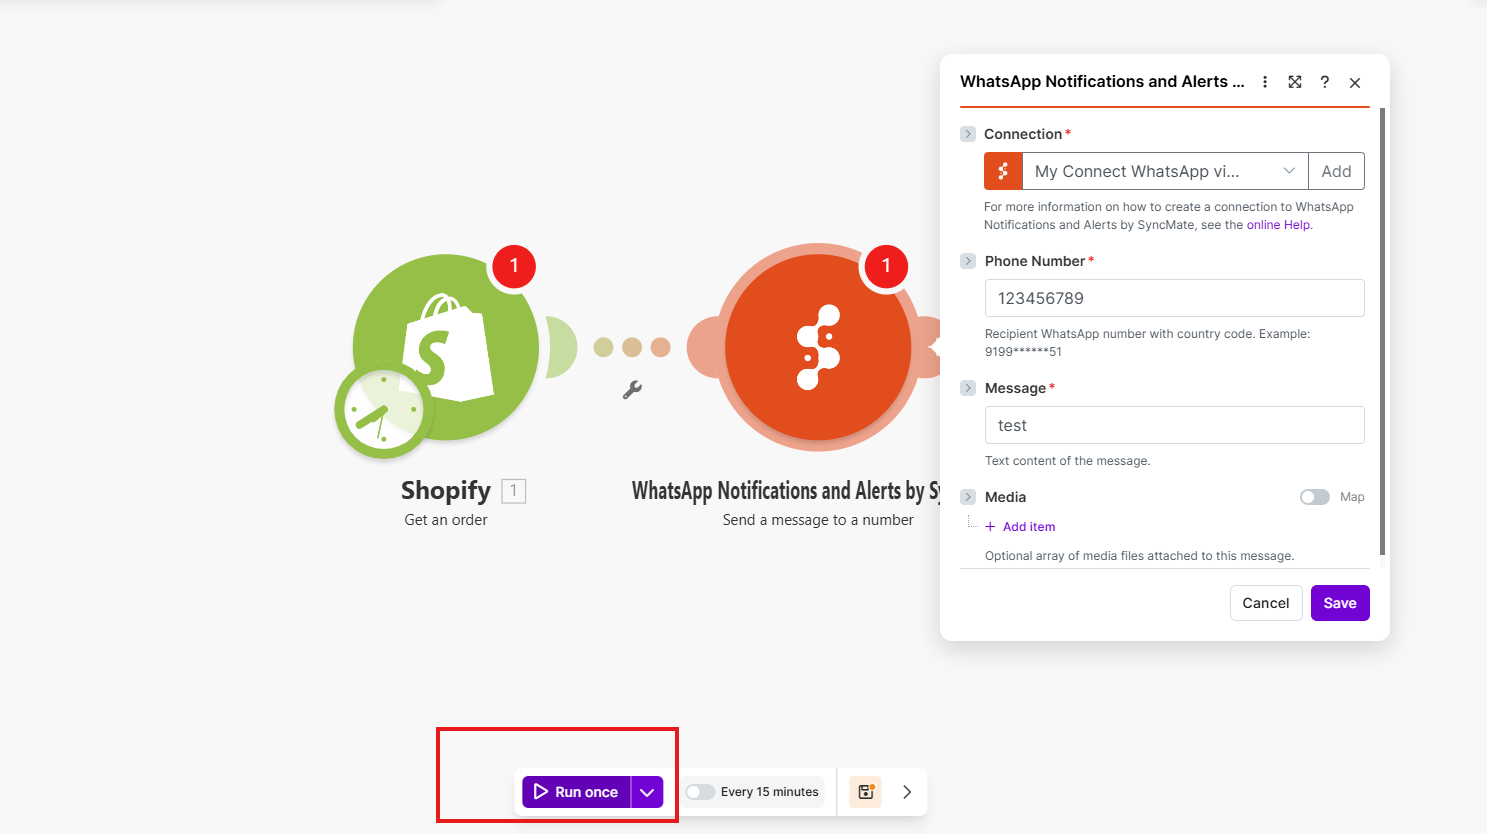
- Shopify → New Order
- Google Sheets → Watch Rows
- HubSpot → New Contact
- Webhook → Custom Trigger
⚠️ The trigger decides when your WhatsApp message will be sent.
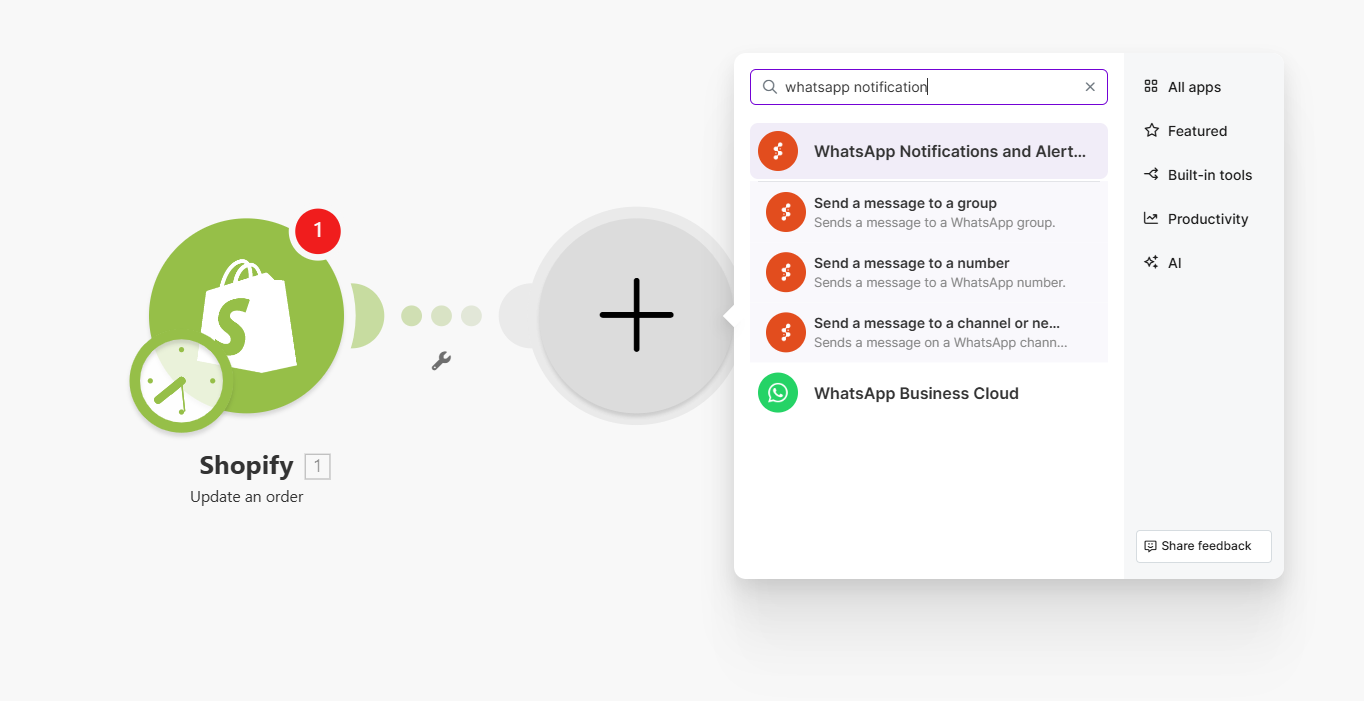
Step 2: Add SyncMate Module #
Click + after your trigger.

Search for WhatsApp Notifications and Alerts by SyncMate.
Choose one of the following actions:
- Send Message to Number
- Send Message to Group
- Send Message to Channel/Newsletter
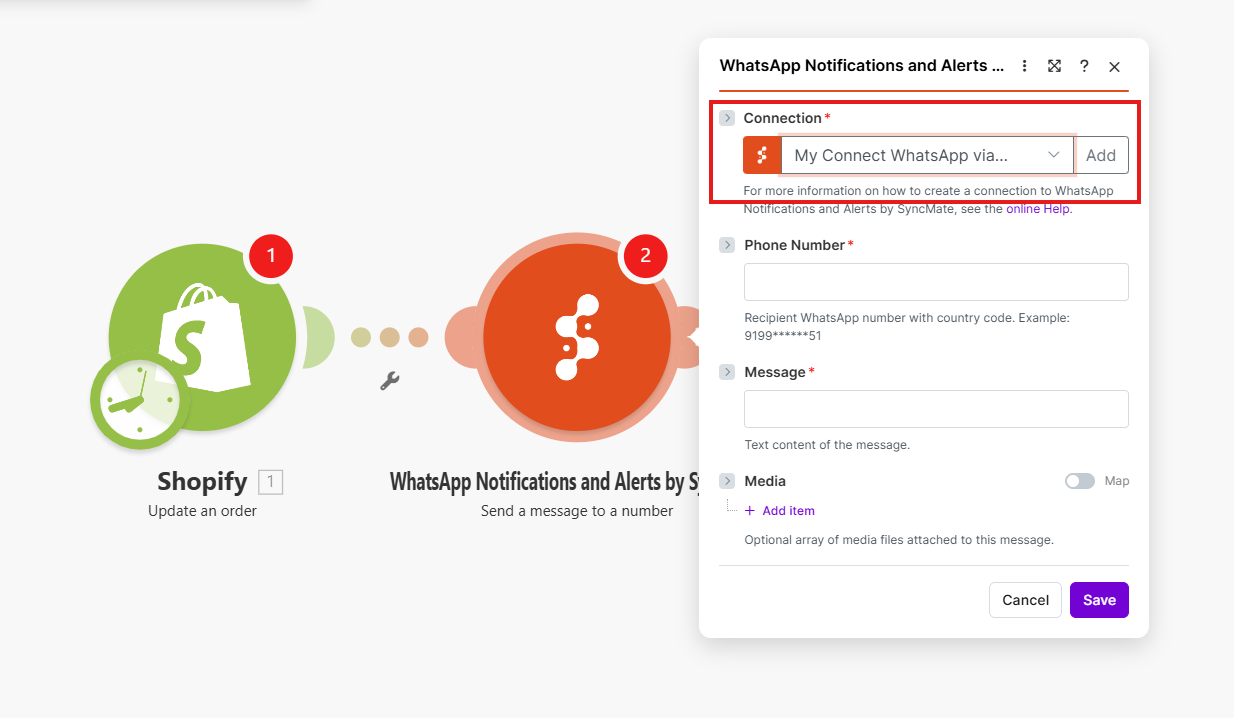
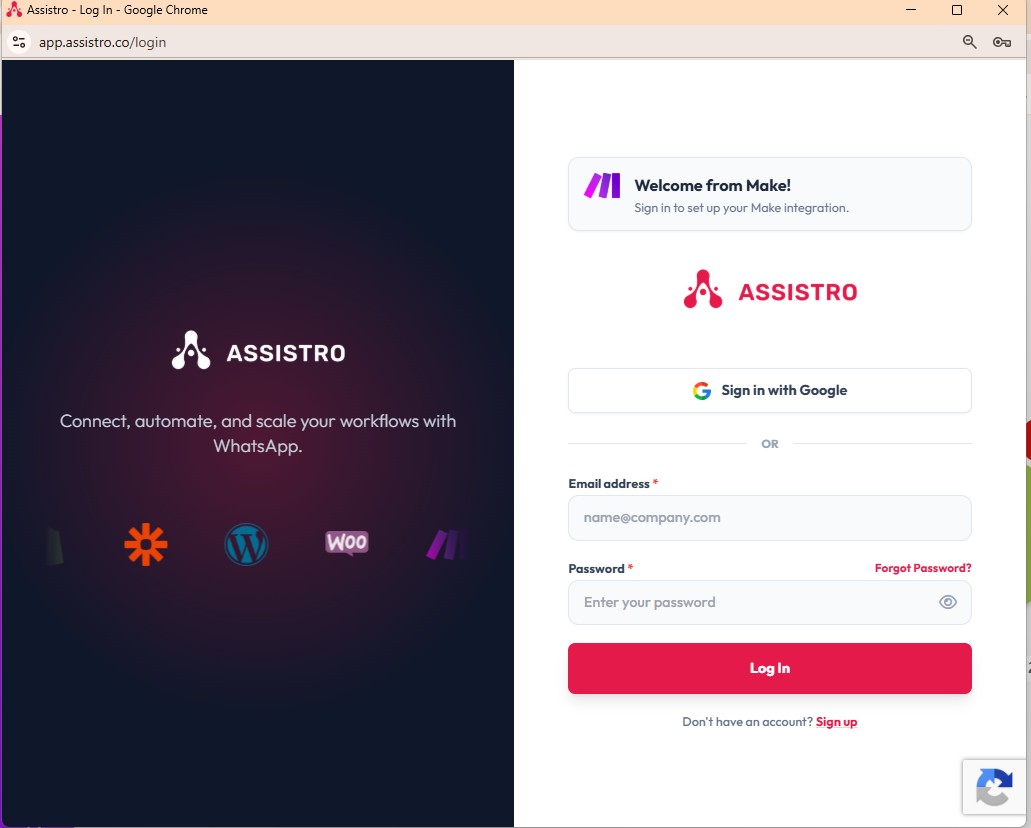
Step 3: Connect Your Assistro Account
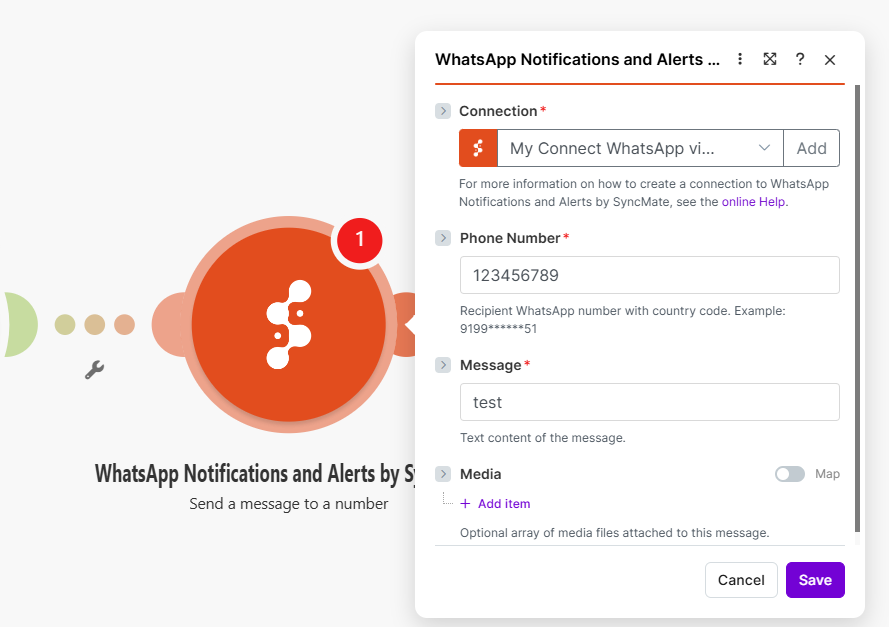
Click Add Connection.
Log in to your Assistro account.
After logging in:
Fill the fields
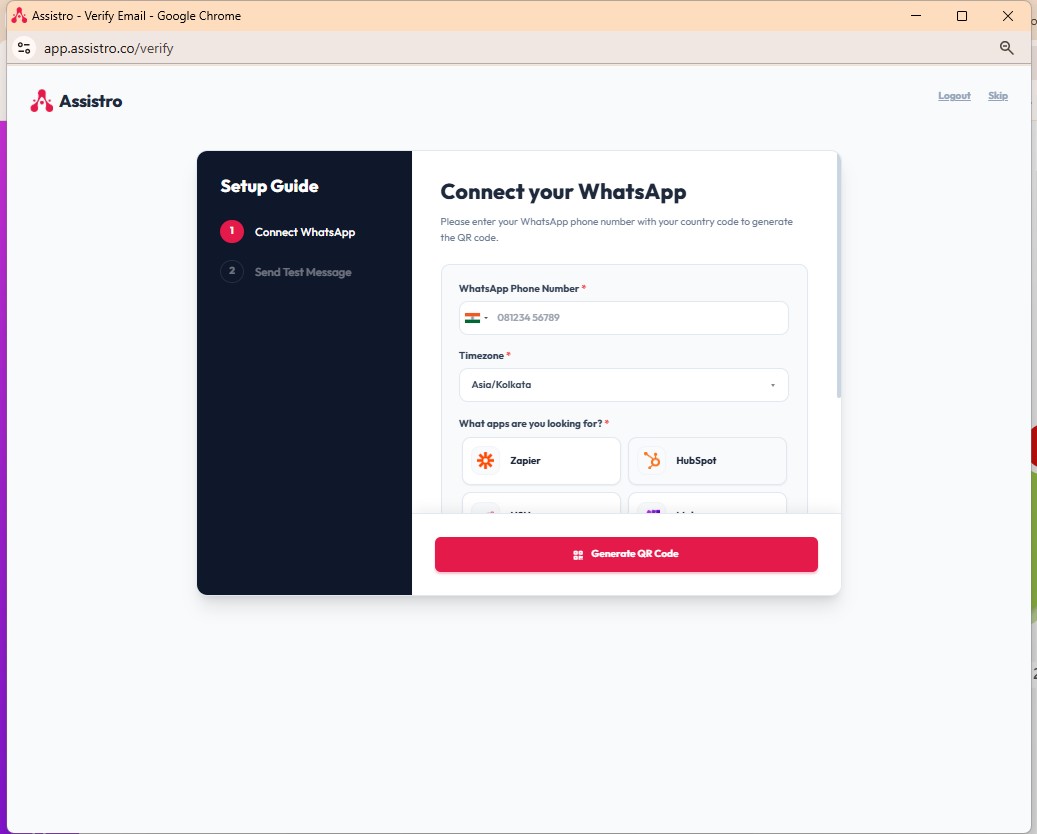
Click on Generate QR Code to connect with whatsApp.
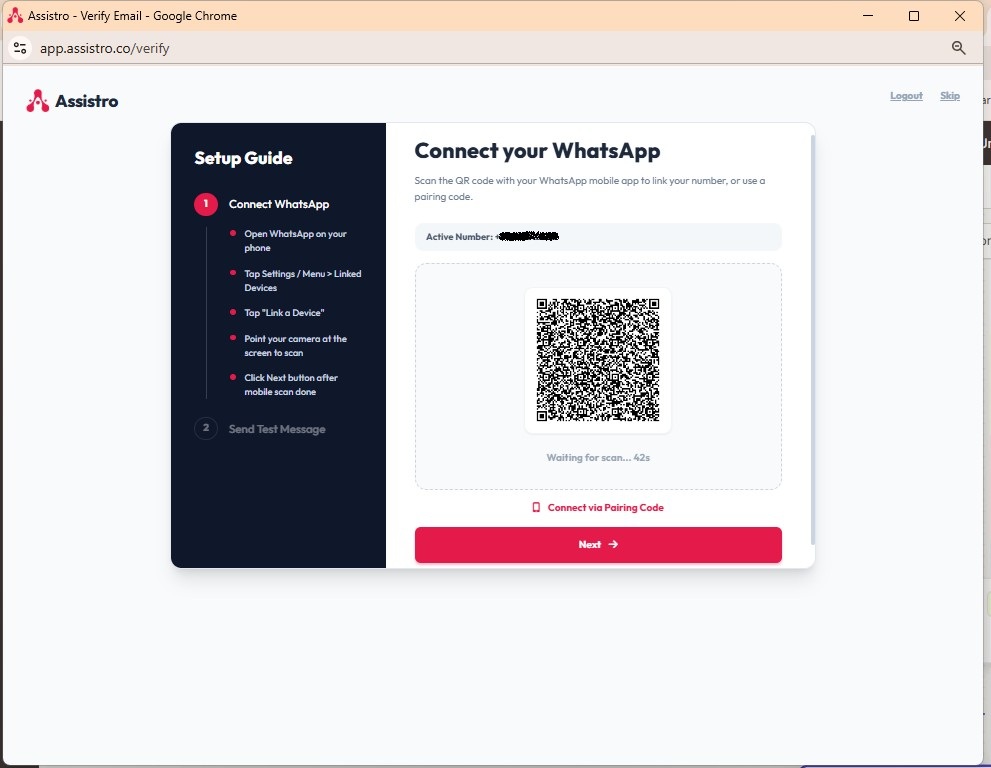
After connect click on next.
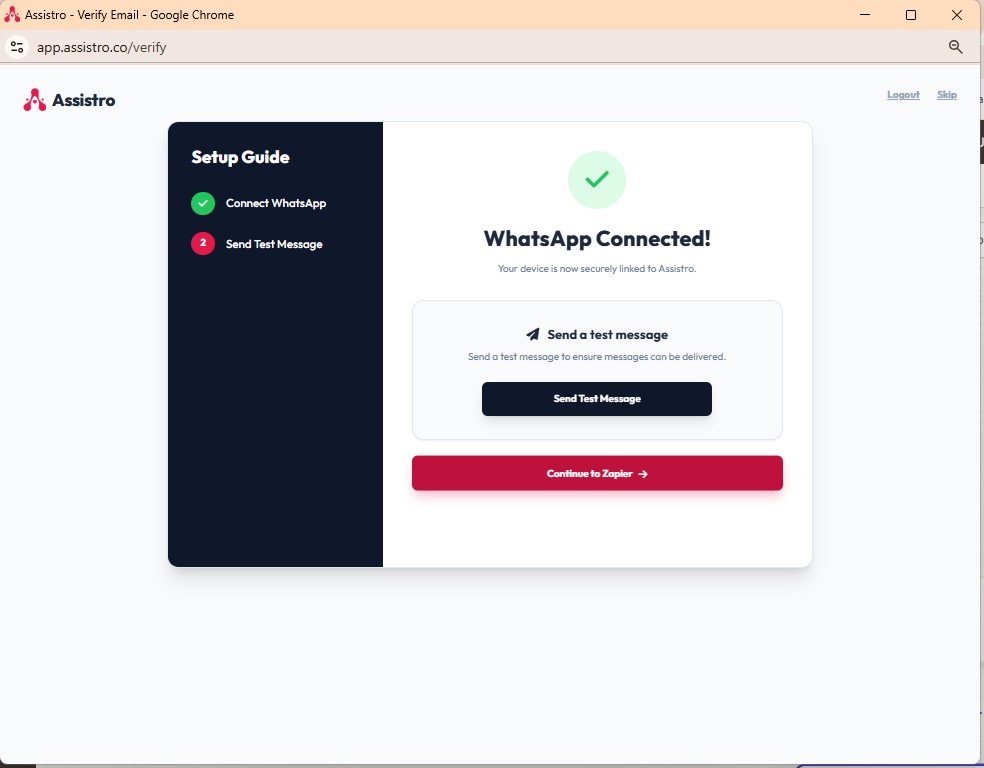
Your whatsApp is connected now.
Authorize and complete the connection.
Step 4: Configure the Message #
Send to Number #
Enter the phone number with country code (e.g. +919876543210).
Enter your message.
You can map dynamic data from previous modules.
Send to WhatsApp Group #
- Enter the Group ID.
- Enter your message.
👉 To fetch the Group ID, follow:
https://assistro.co/user-guide/zapier/how-to-send-message-to-a-whatsapp-group-guide-to-fetch-group-id/
Send to WhatsApp Channel / Newsletter #
- Enter the Channel ID.
- Enter your message.
👉 To fetch the Channel / Newsletter ID, follow:
How to fetch WhatsApp Channel or Newsletter ID – Guide to Fetch Channel or Newsletter ID with Video
Step 5: Test the Scenario #
- Click Run Once in Make.
- Trigger your scenario.
- Confirm the WhatsApp message is received.
Step 6: Turn the Scenario ON #
After successful testing:
- Click Turn On in Make.
Your WhatsApp automation is now live
Track Message Status (Important) #
To track delivery status:
- Log in to your Assistro account.
- Go to the Logs section.
- Check message status (Sent, Delivered, Failed, etc.).
This helps you troubleshoot and monitor message activity.