Skip to content
assostro-header-logo
assistro
  • Integrations
    • Zapier
    • Shopify
    • Hubspot
    • WordPress
    • Chrome Extention
    • Metro Accounting (Coming soon)
    • Flavor CRM (Comming soon)
  • Learn
    • Blog
    • Developer Guide
    • User Guide
    • Tutorial
  • Pricing
  • Contact Us
  • Get Started
Get Started

SyncMate

9
  • Connect your HubSpot App with SyncMate
  • Connect your WooCommerce App with SyncMate
  • Connect your Contact Form 7 App with SyncMate
  • Troubleshooting and Reconnection Guide
  • How to use SyncMate X Shopify Application ?
  • How to send automated WhatsApp messages on Google Calendar events?
  • How to Send Message to a WhatsApp Group – Guide to Fetch Group ID
  • How to Connect your WhatsApp with SyncMate?
  • Connect your Custom App with SyncMate

Other

6
  • How to use SyncMate in a 3rd Party application via OAuth – The Secure way
  • Assistro Dashboard
  • After Installation : Setting up SyncMate Chrome Extension
  • Getting Started with SyncMate and Shopify Integration: A Step-by-Step Guide
  • How to back up your WhatsApp chats in HubSpot?
  • SyncMate User Guide: Regenerating Your Token

Extension

3
  • Define your own template to send schedule message
  • Send Message at a scheduled time using SyncMate
  • Bulk messaging at a scheduled time using SyncMate

Developer Guide

2
  • SyncMate User Guide: Regenerating Your Token
  • Connect your Custom App with SyncMate

Tutorial

2
  • Use WhatsApp API with Custom applications using SyncMate
  • SyncMate Introduction Video
View Categories
  • Home
  • user-guide
  • Extension
  • Define your own template to send schedule message

Define your own template to send schedule message

< 1 min read

The Schedule Messages feature of Syncmate allows users to predefine and reuse message templates for their scheduled messages, saving you time and effort.

To use Templates in Message Scheduling with the SyncMate extension, follow these simple steps:

Step 1: #

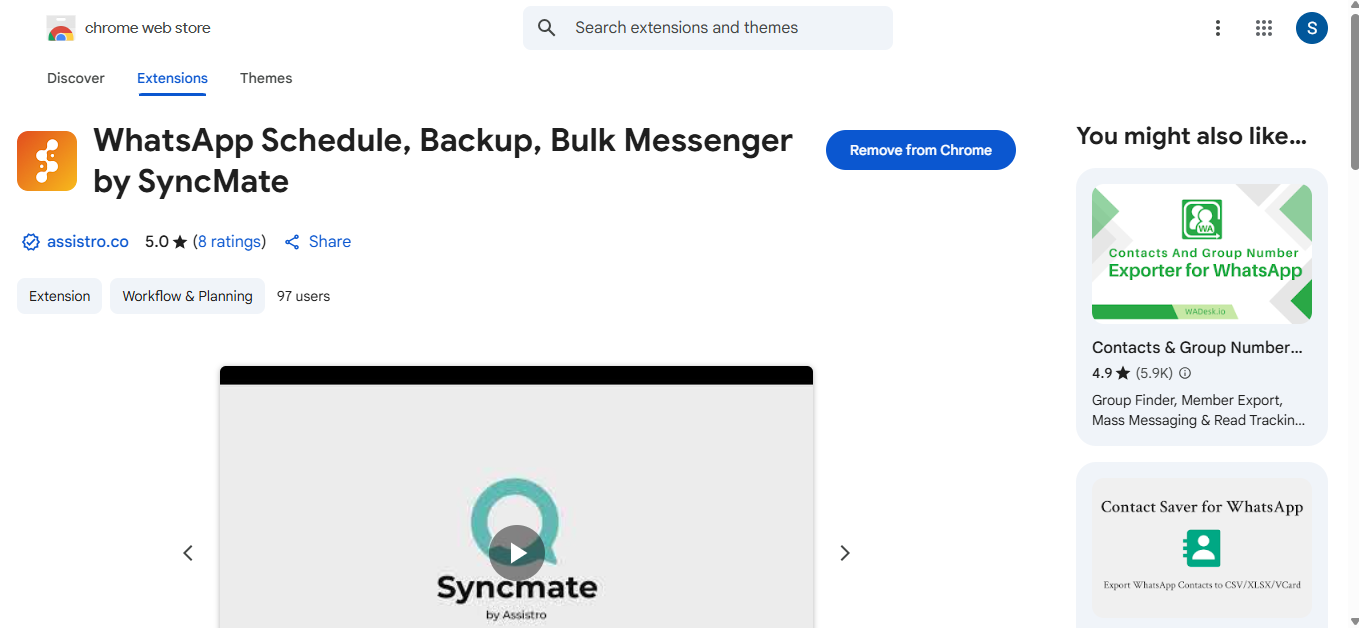
Add the SyncMate extension to your browser.

#
Step 2: #

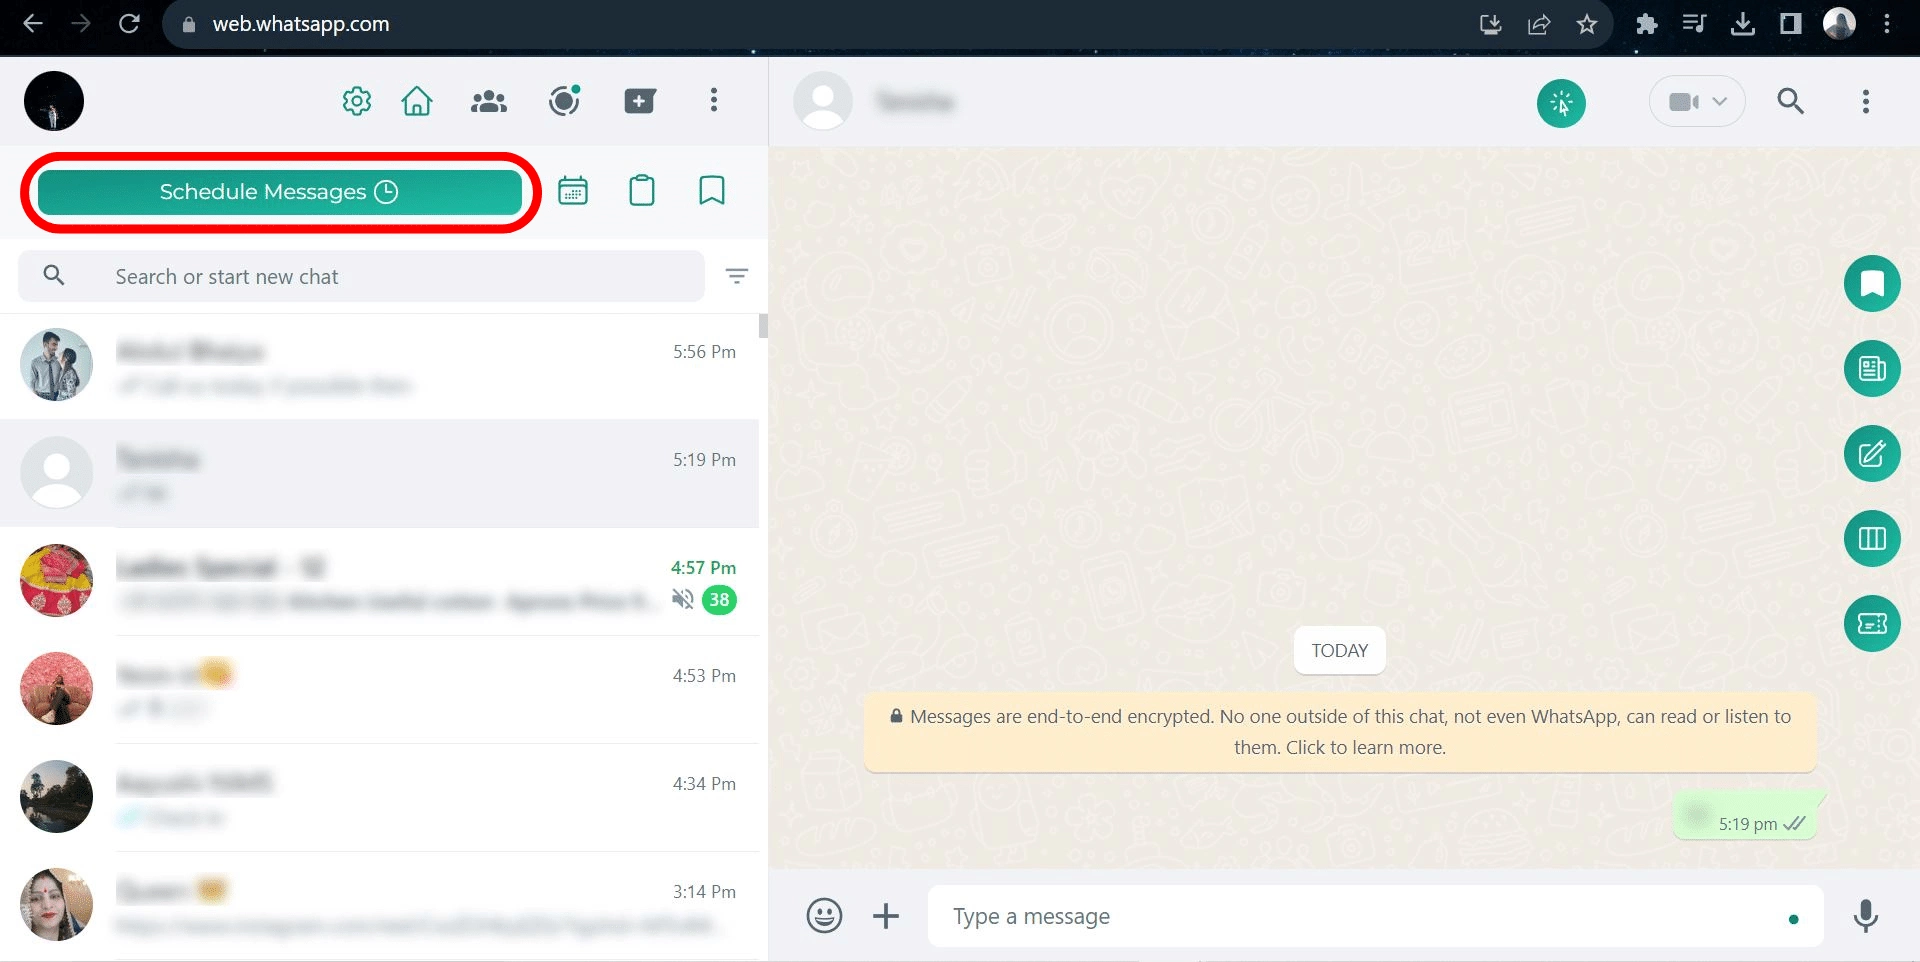
Visit WhatsApp and click on the Schedule Message option.
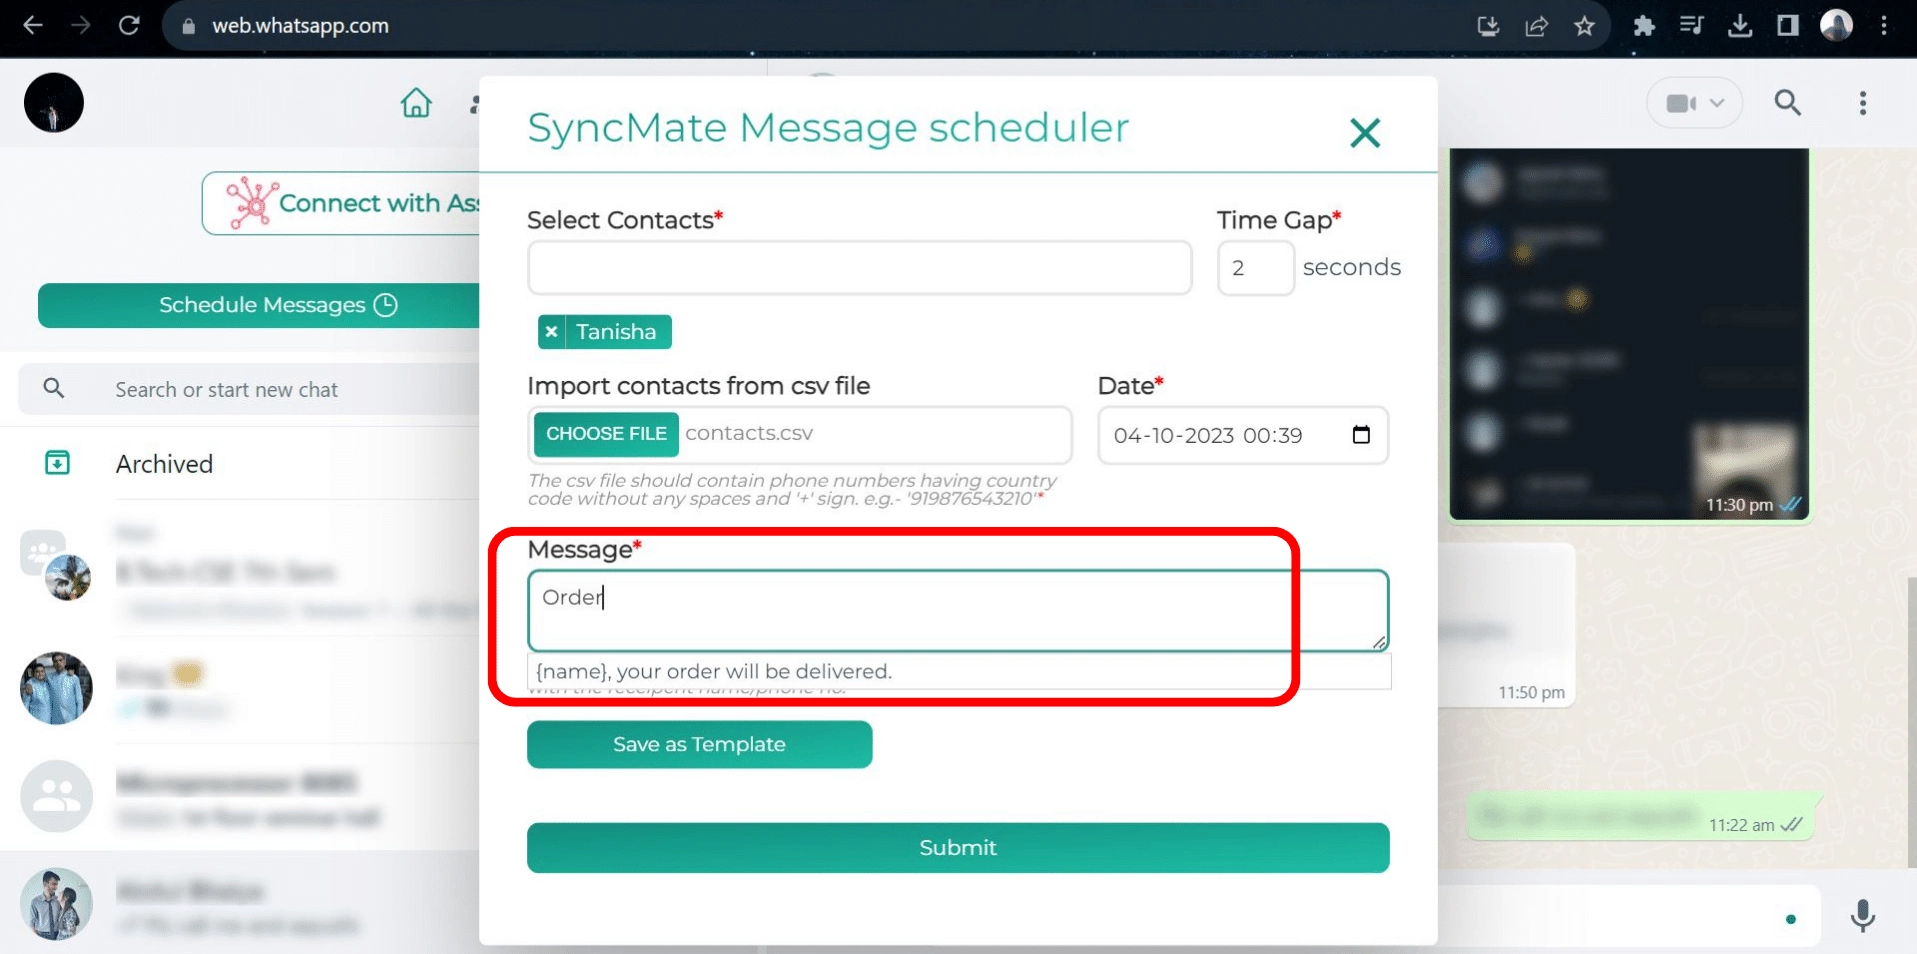
#
Step 3: #

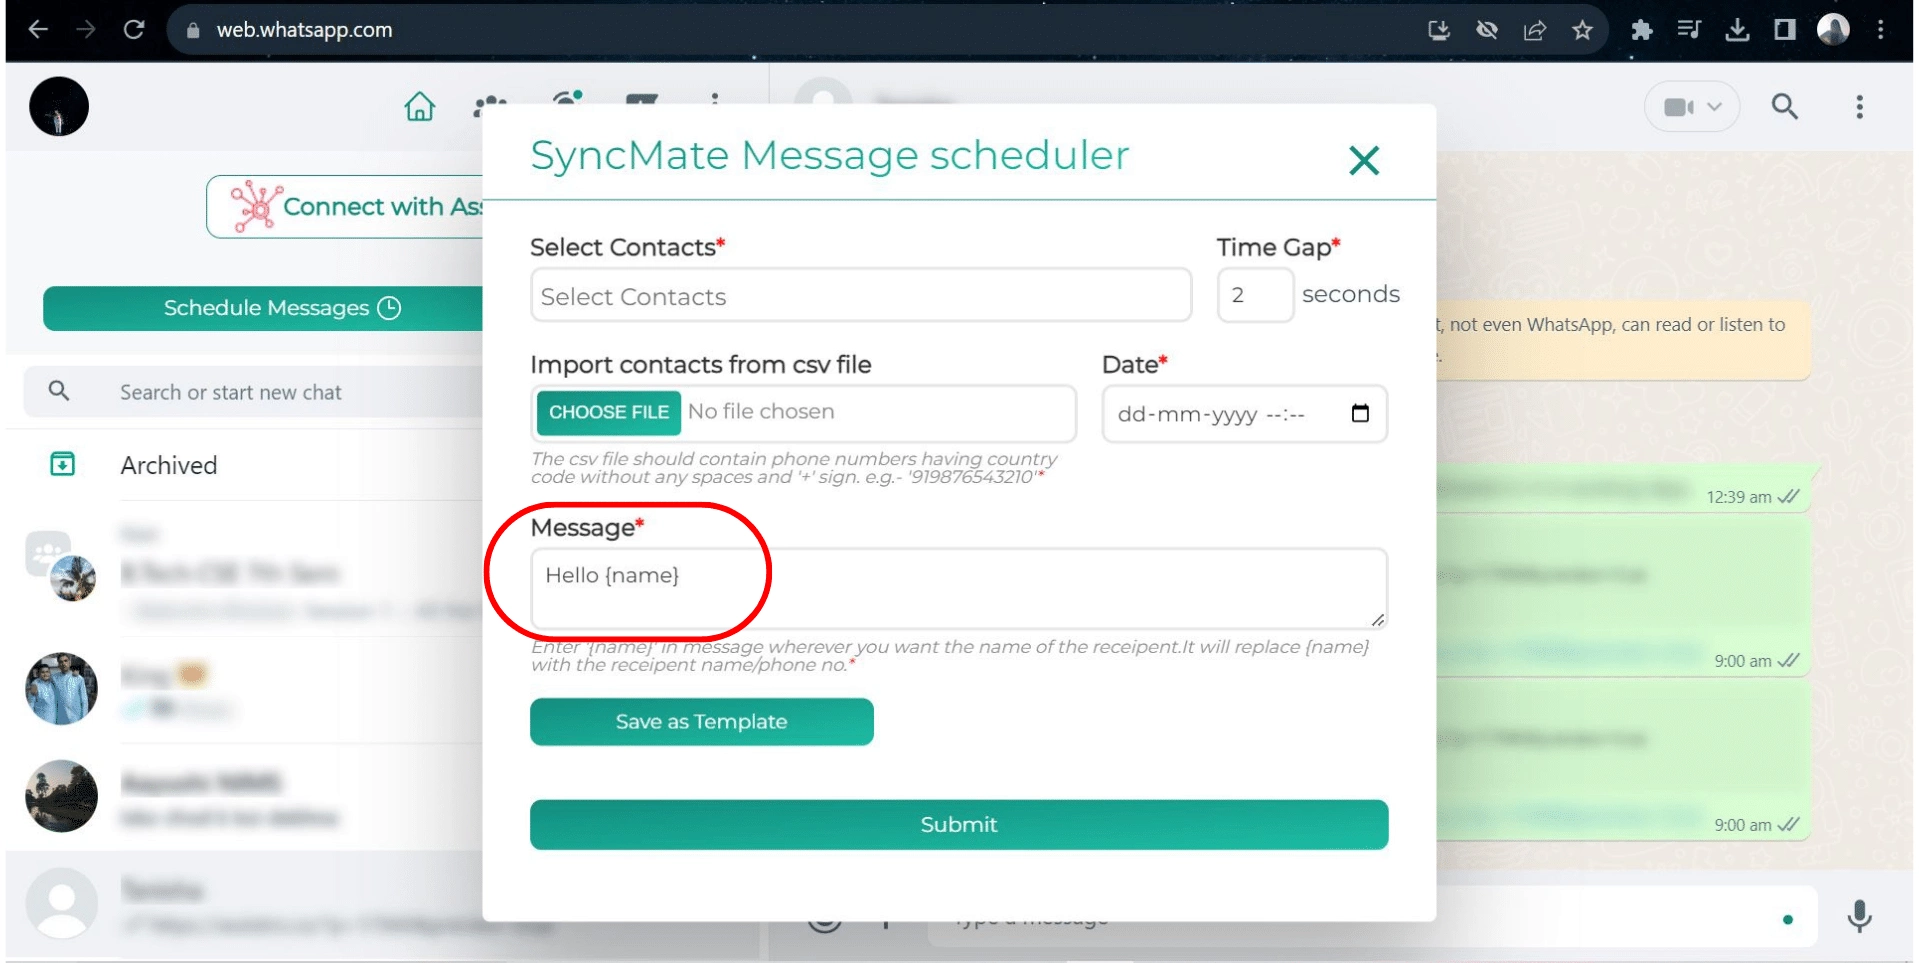
Write your message in the message box and click on Save as Template.
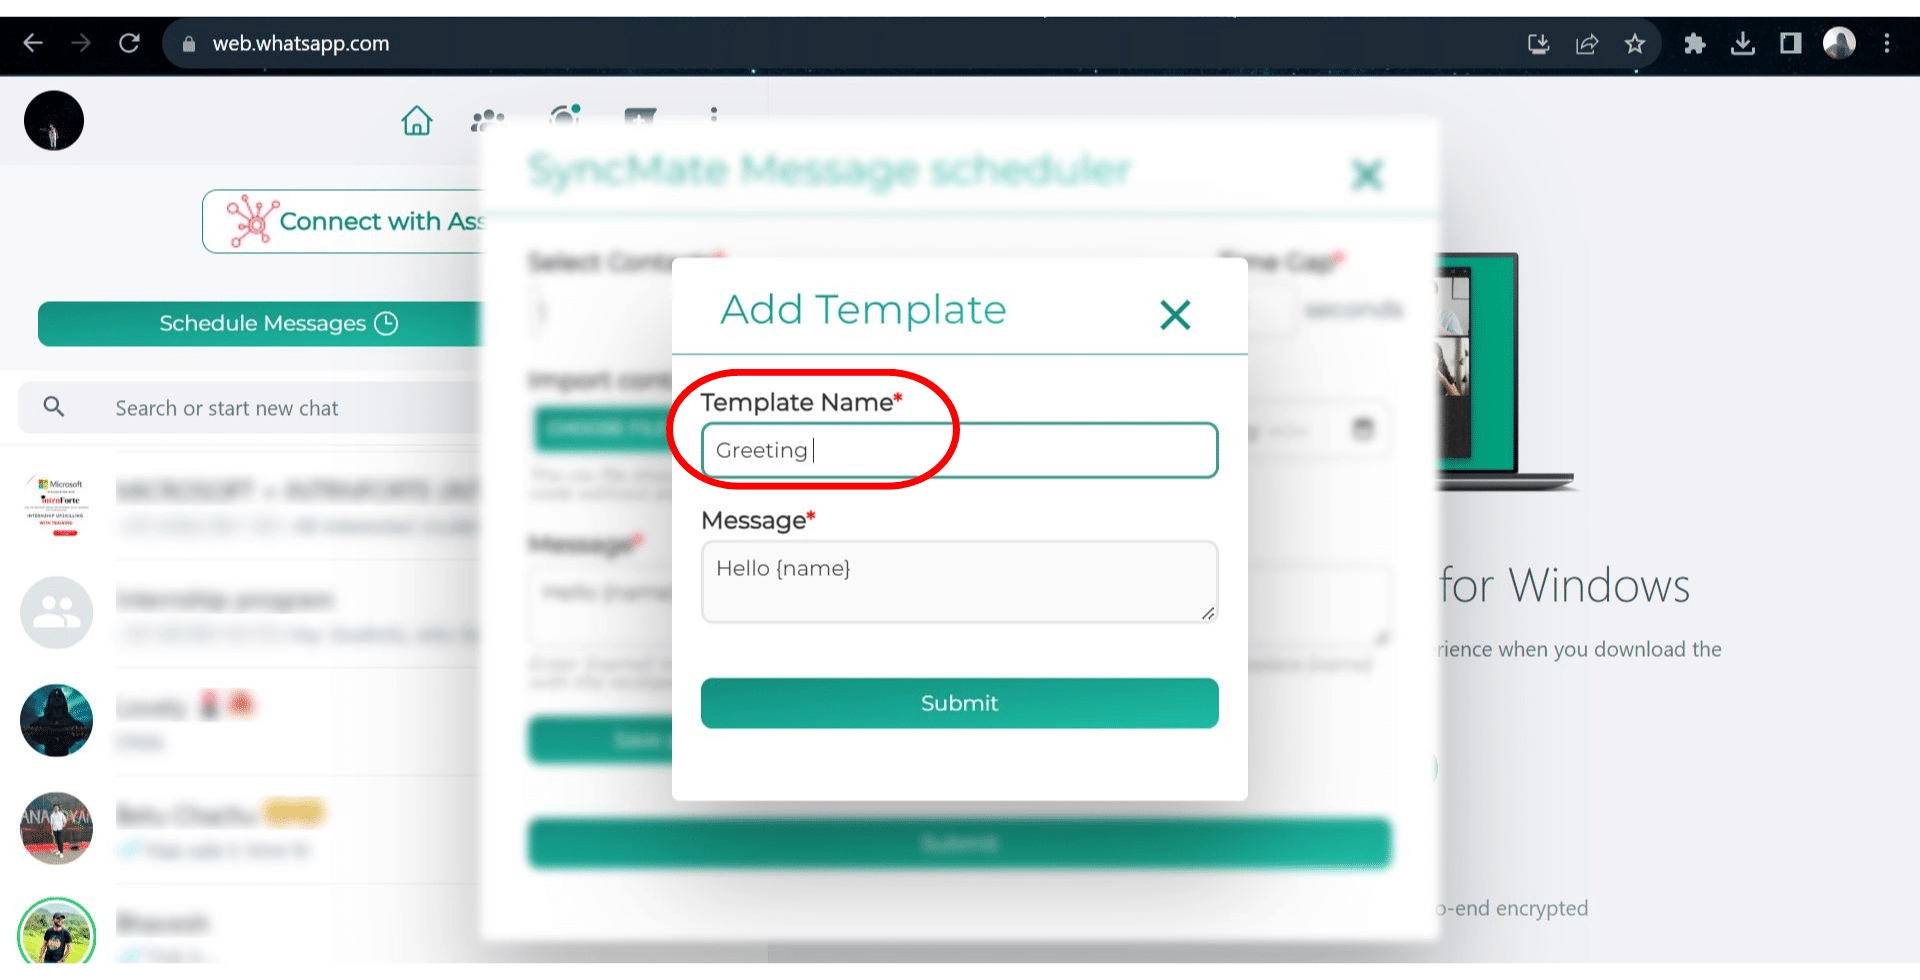
#
Step 4: #

Add your Template name and click submit.
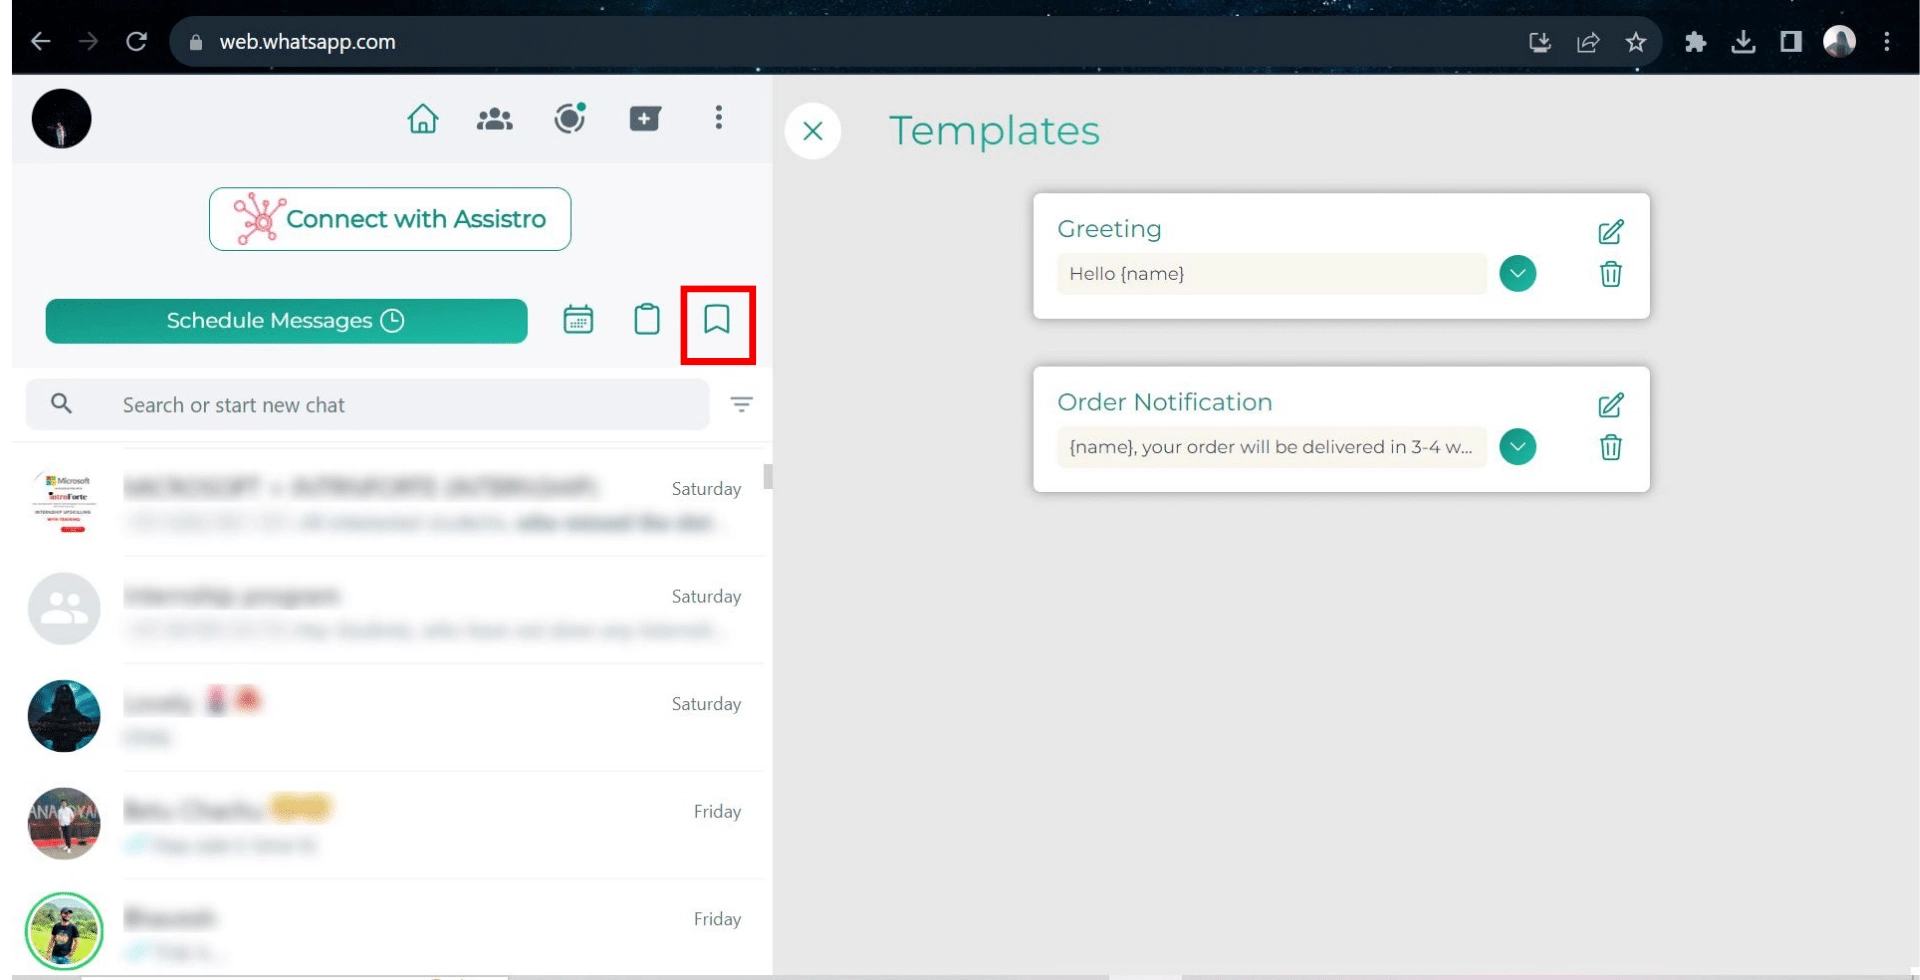
#
Step 5: #

You can check your saved templates by clicking on the Templates icon.

#
Step 6: #

Now, select the contacts or the groups, schedule the date and time, and in the message box, you can use the saved templates by selecting them from the suggestions while composing a message.
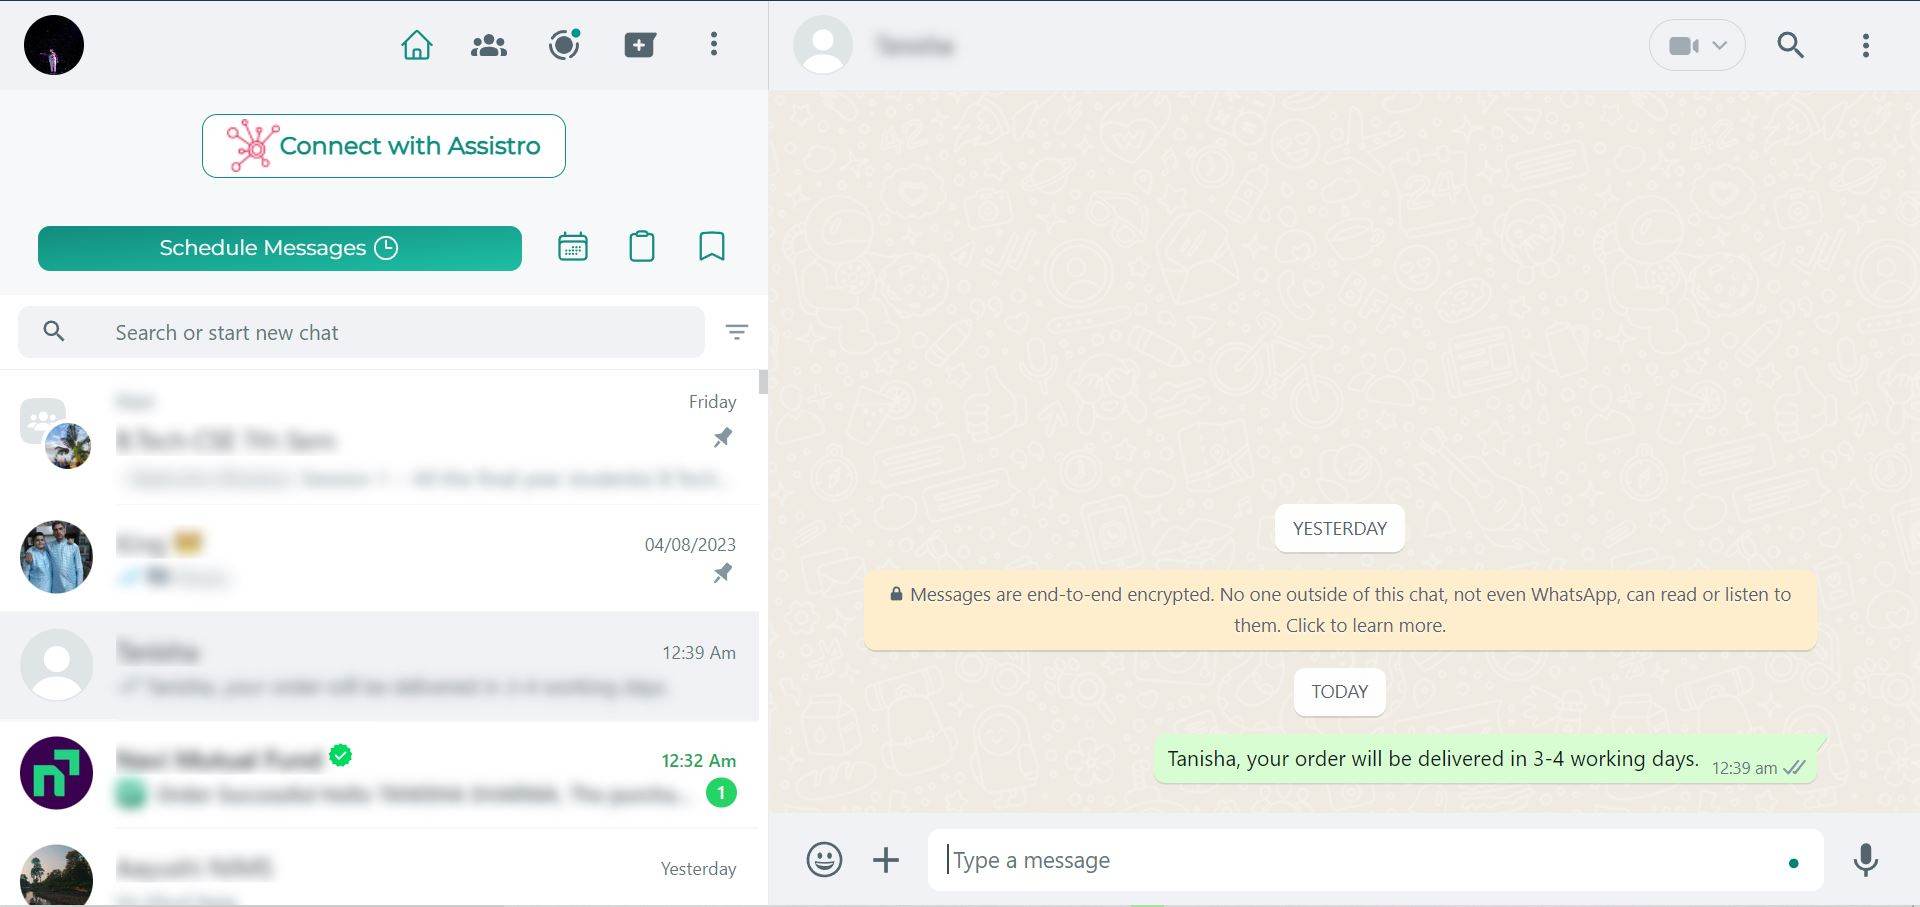
#
Step 7: #

Save the schedule by clicking on the Submit button. And, the message will be delivered at its scheduled time.

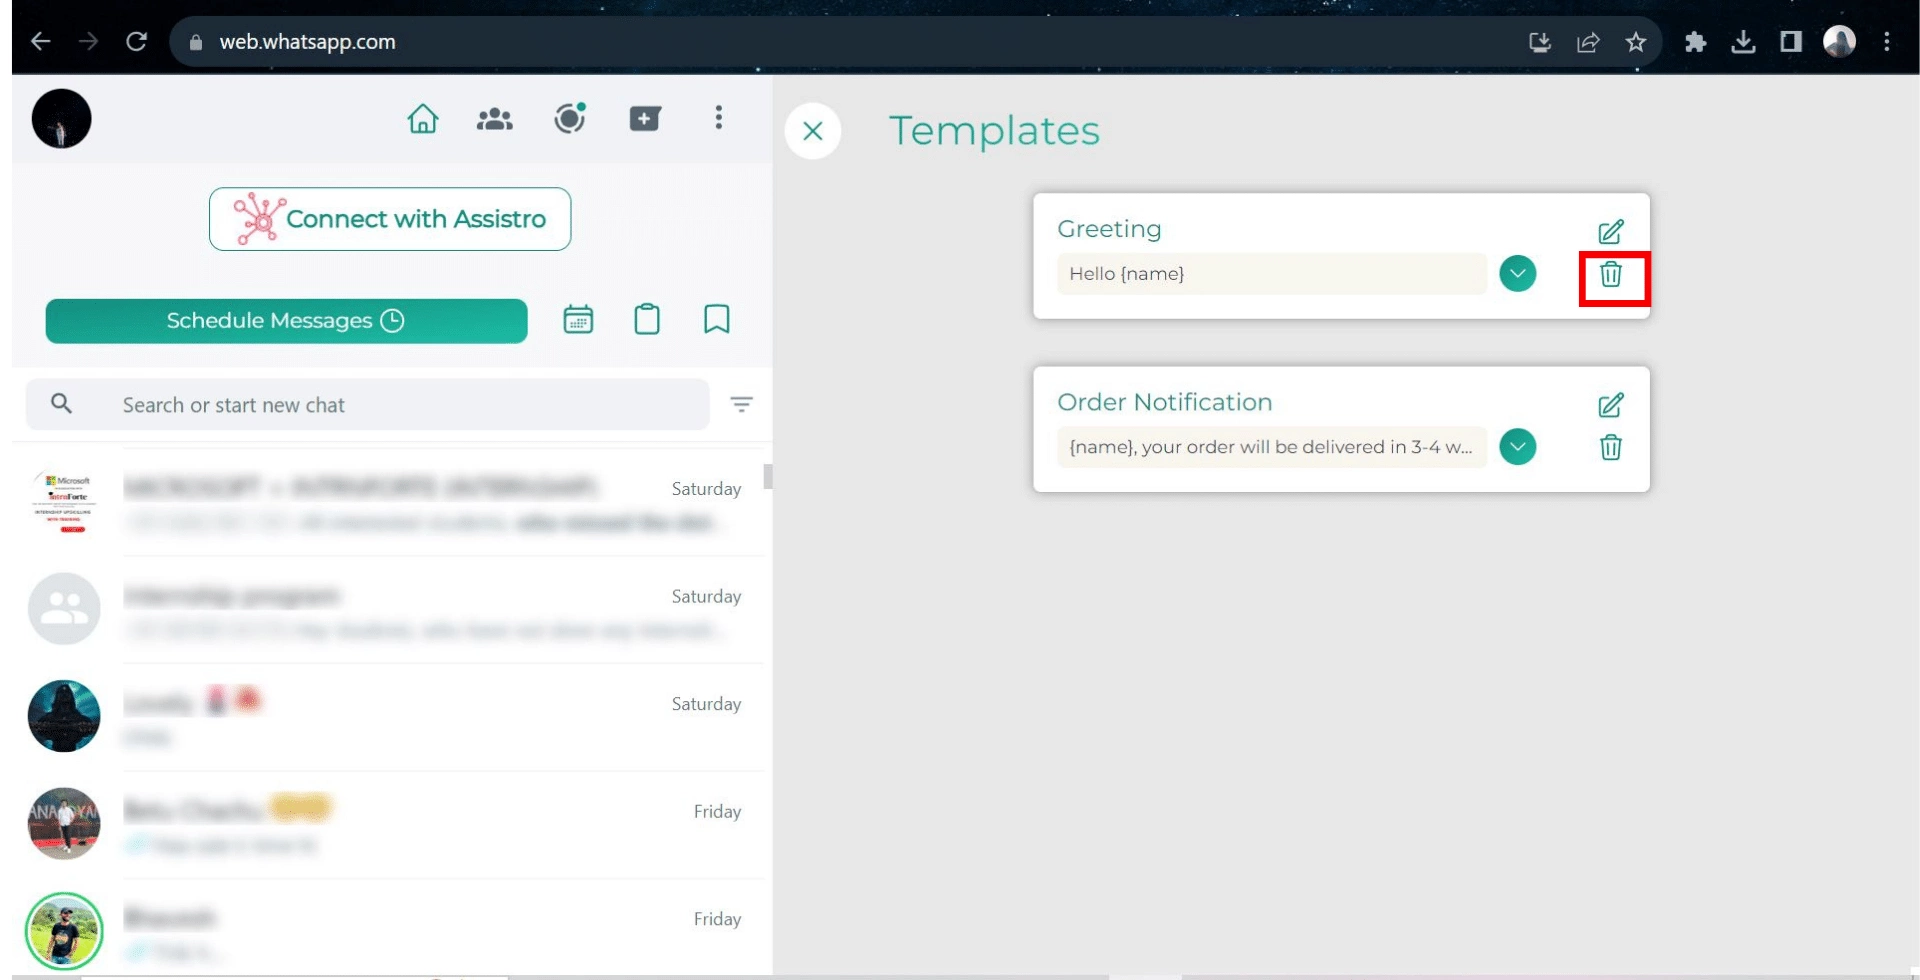
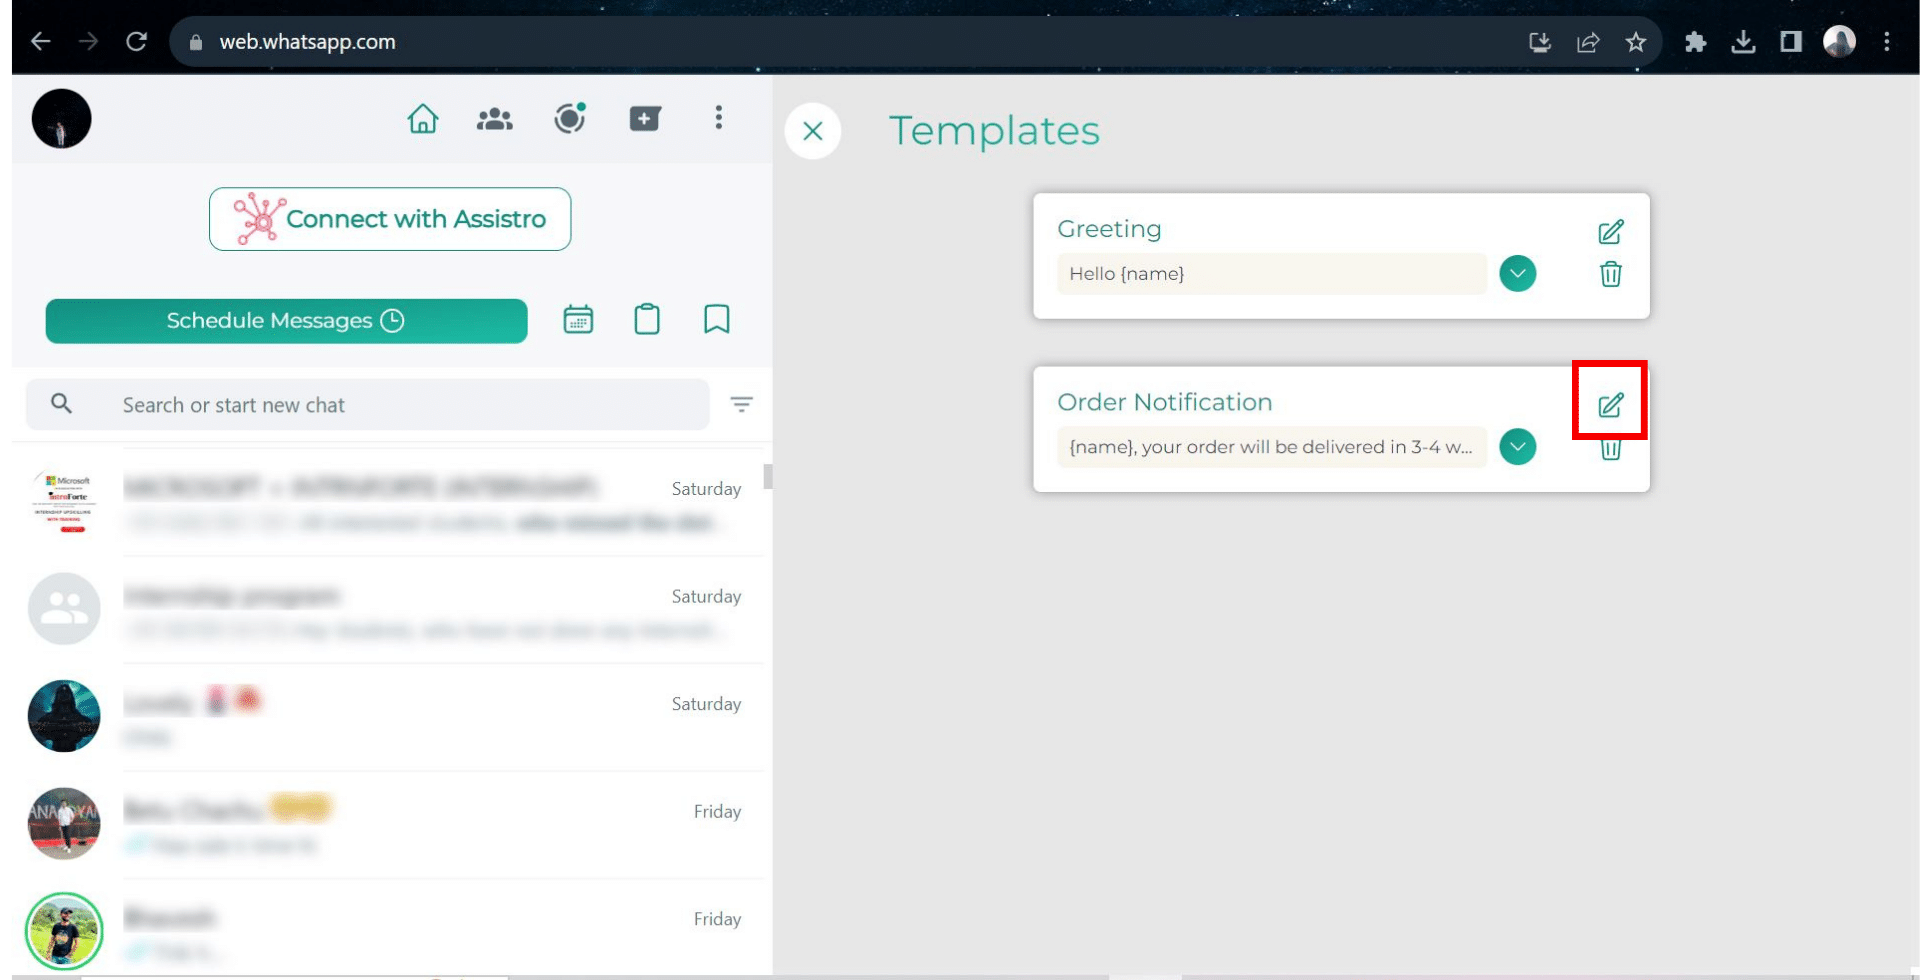
You can also Update or Delete the saved template messages. To do so, follow these steps:

Step 1: #

Click on the Templates option.

#
Step 2: #

To update an existing template, click on the edit button.
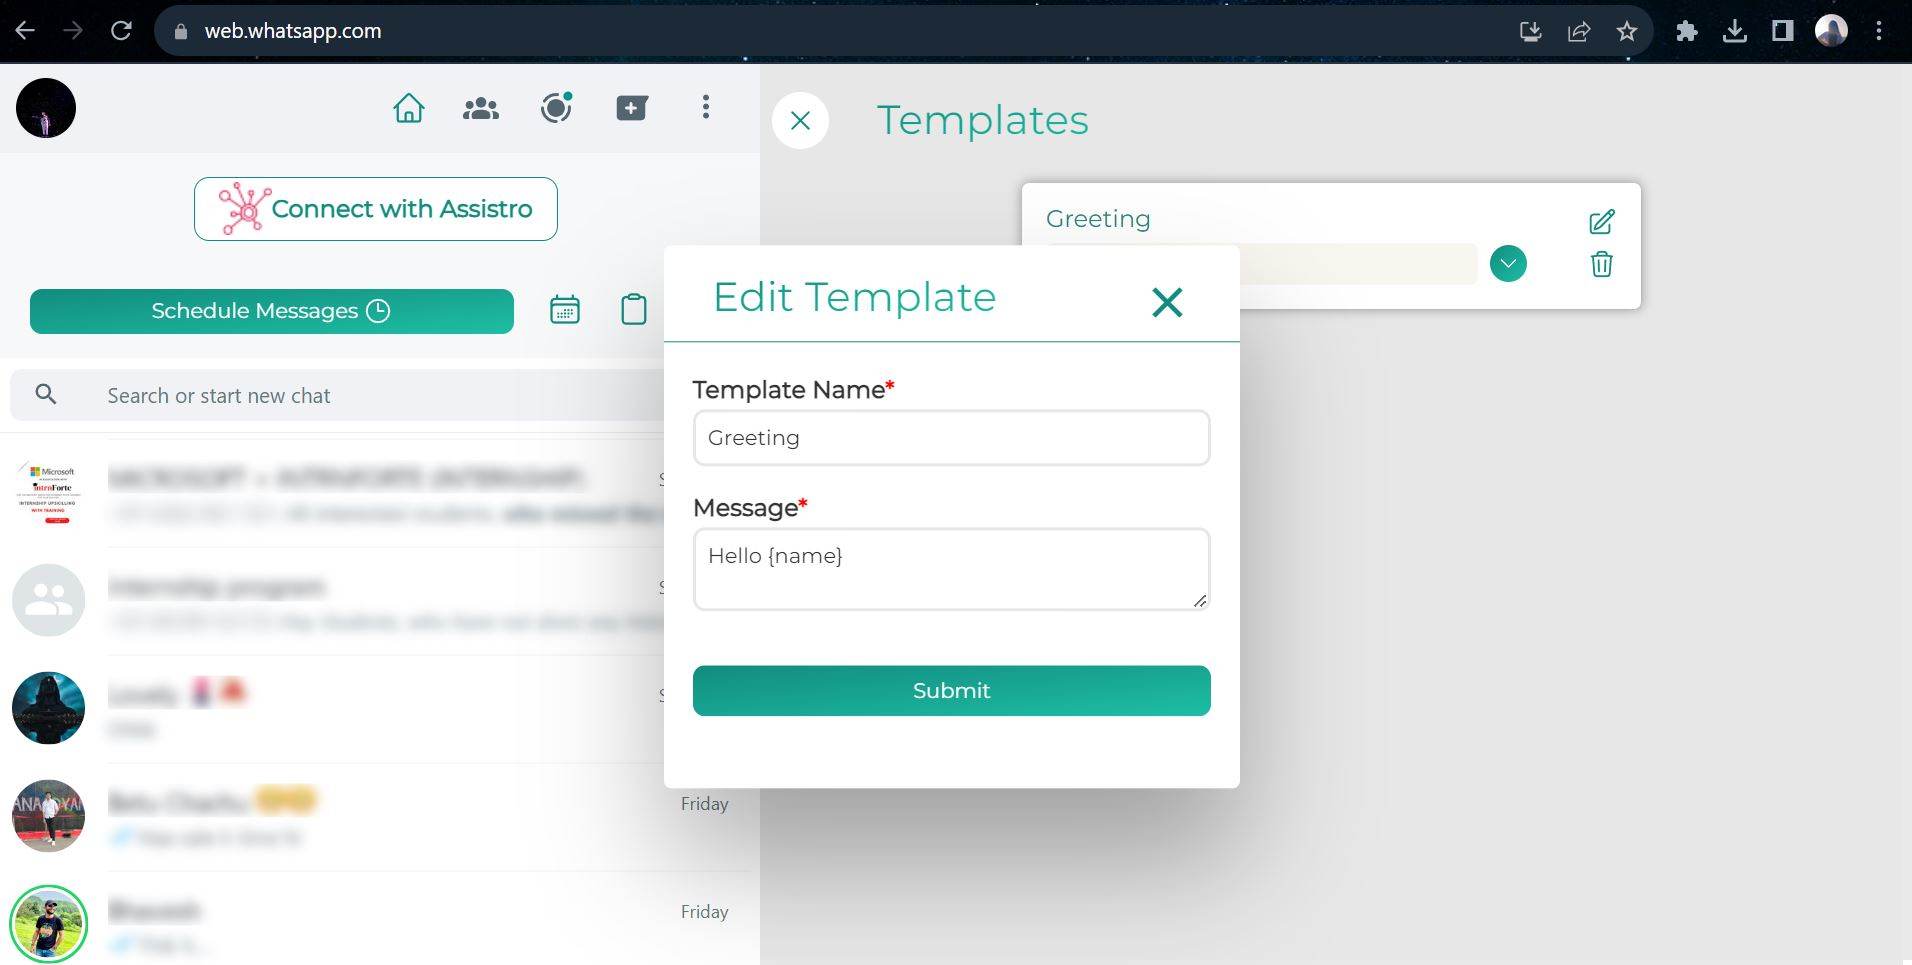
#
Step 3: #

Update the message or template name and click on submit.

#
Step 4 #

To delete any template, just click on the delete button.

Updated on July 2, 2025

What are your Feelings

  • Happy
  • Normal
  • Sad
Share This Article :
  • Facebook
  • X
  • LinkedIn
  • Pinterest
Send Message at a scheduled time using SyncMate
Table of Contents
  • Step 1:
  • Step 2:
  • Step 3:
  • Step 4:
  • Step 5:
  • Step 6:
  • Step 7:
  • Step 1:
  • Step 2:
  • Step 3:
  • Step 4
assistro

We’re your innovation partner, delivering cutting-edge solutions that elevate your business to the next level.


    Navigation

    • Integrations
    • Pricing
    • Contact Us

    Integrations

    • Zapier
    • Shopify
    • Hubspot
    • Wordpress
    • Chrome Extension
    • Metro Accounting [Coming soon]
    • Flavor CRM [Coming soon]

    Learn 

    • Blogs
    • Developers
    • User Guide
    • Tutorials

    © Copyright 2025, All Rights Reserved by Assistro