To connect your HubSpot App with SyncMate, you need to follow the easy steps below:
Step 1: #
First of all, you will need to connect you WhatsApp with SyncMate, follow the Connection guide.
Step 2:
Once your WhatsApp is connected, Activate the HubSpot app.
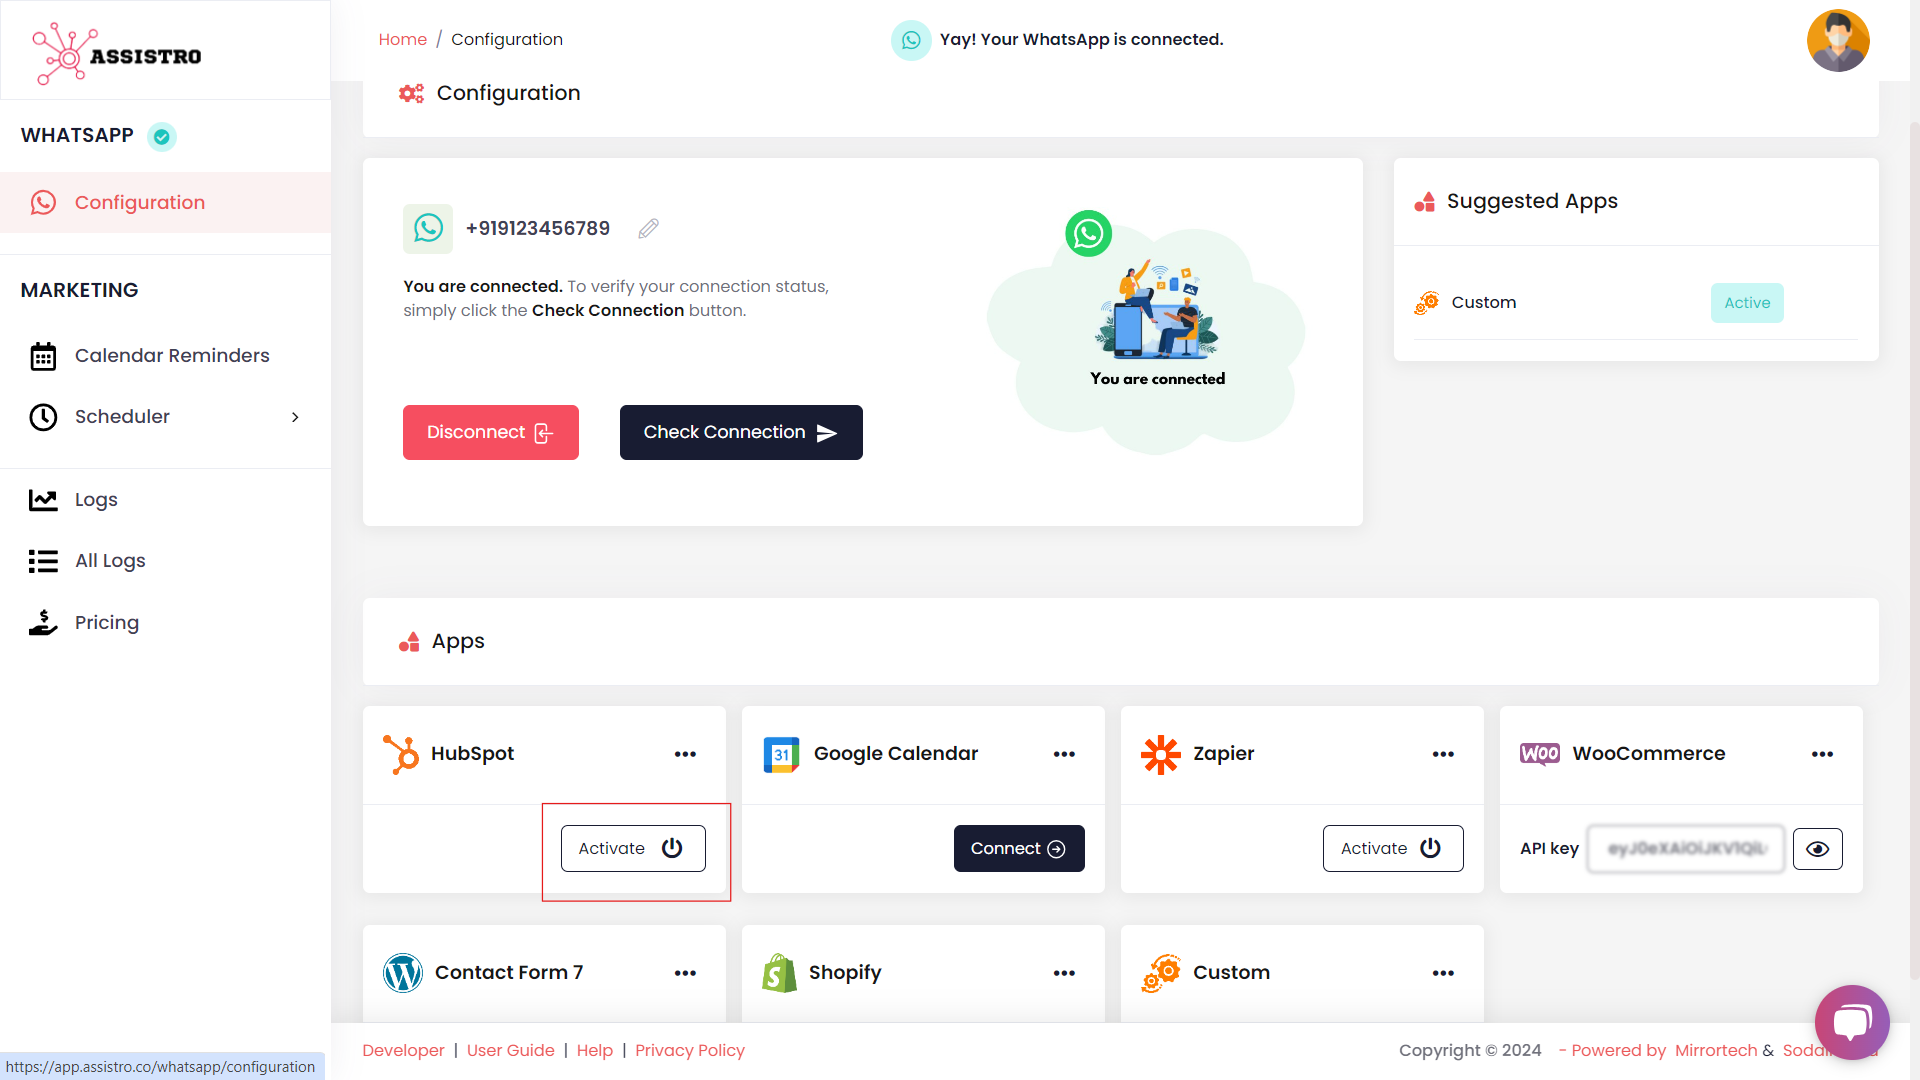
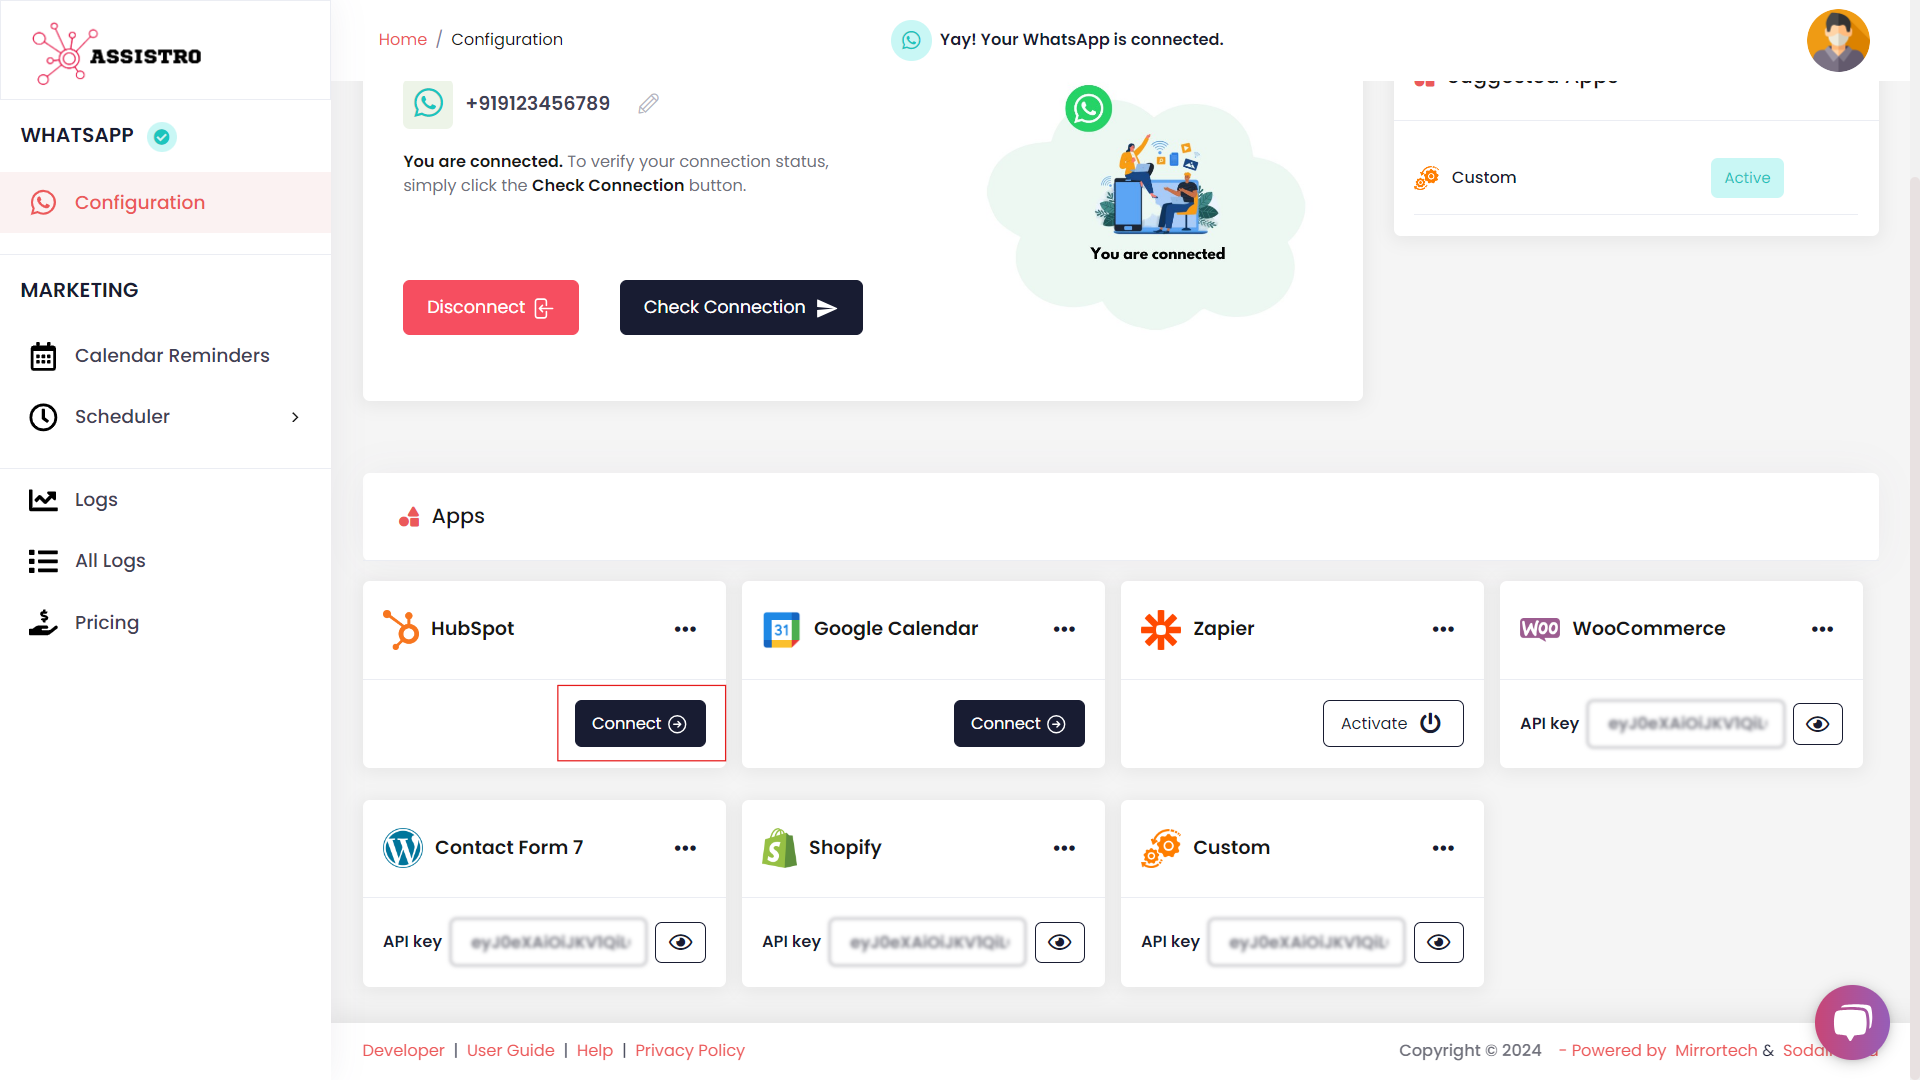
Step 3: #
After that, click on Connect button to connect with HubSpot
Step 4: #
You will be redirected to HubSpot OAuth page, where you need to select an account to proceed further.
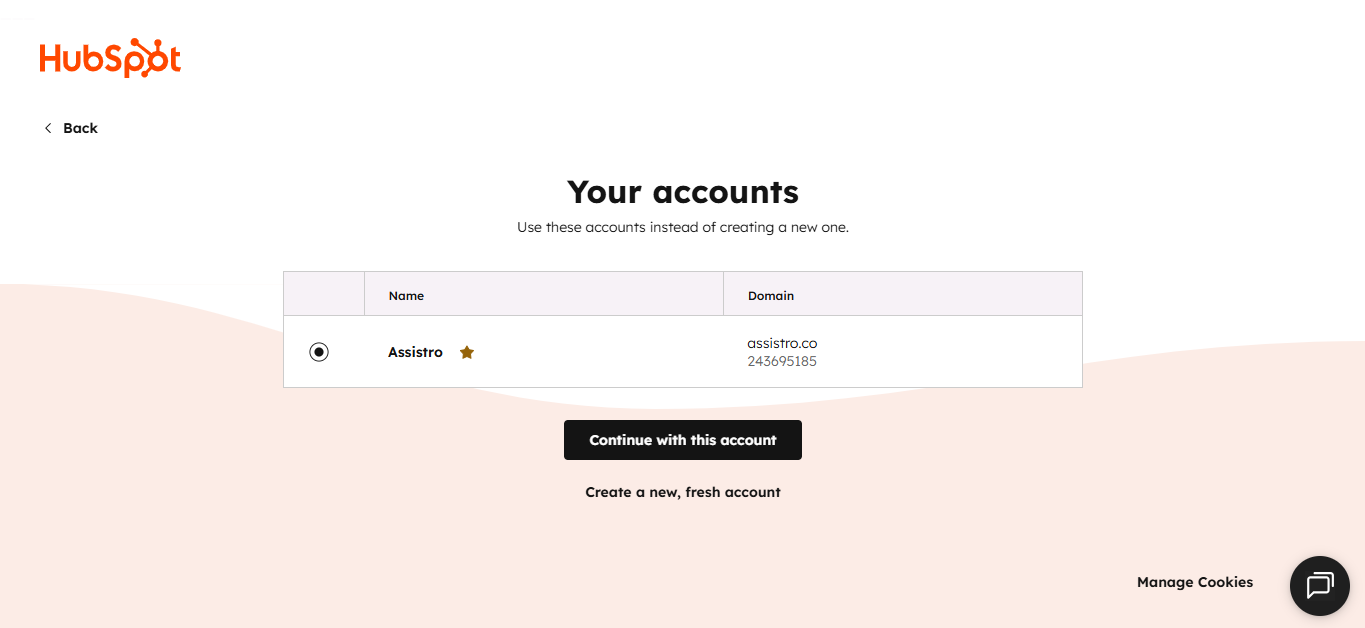
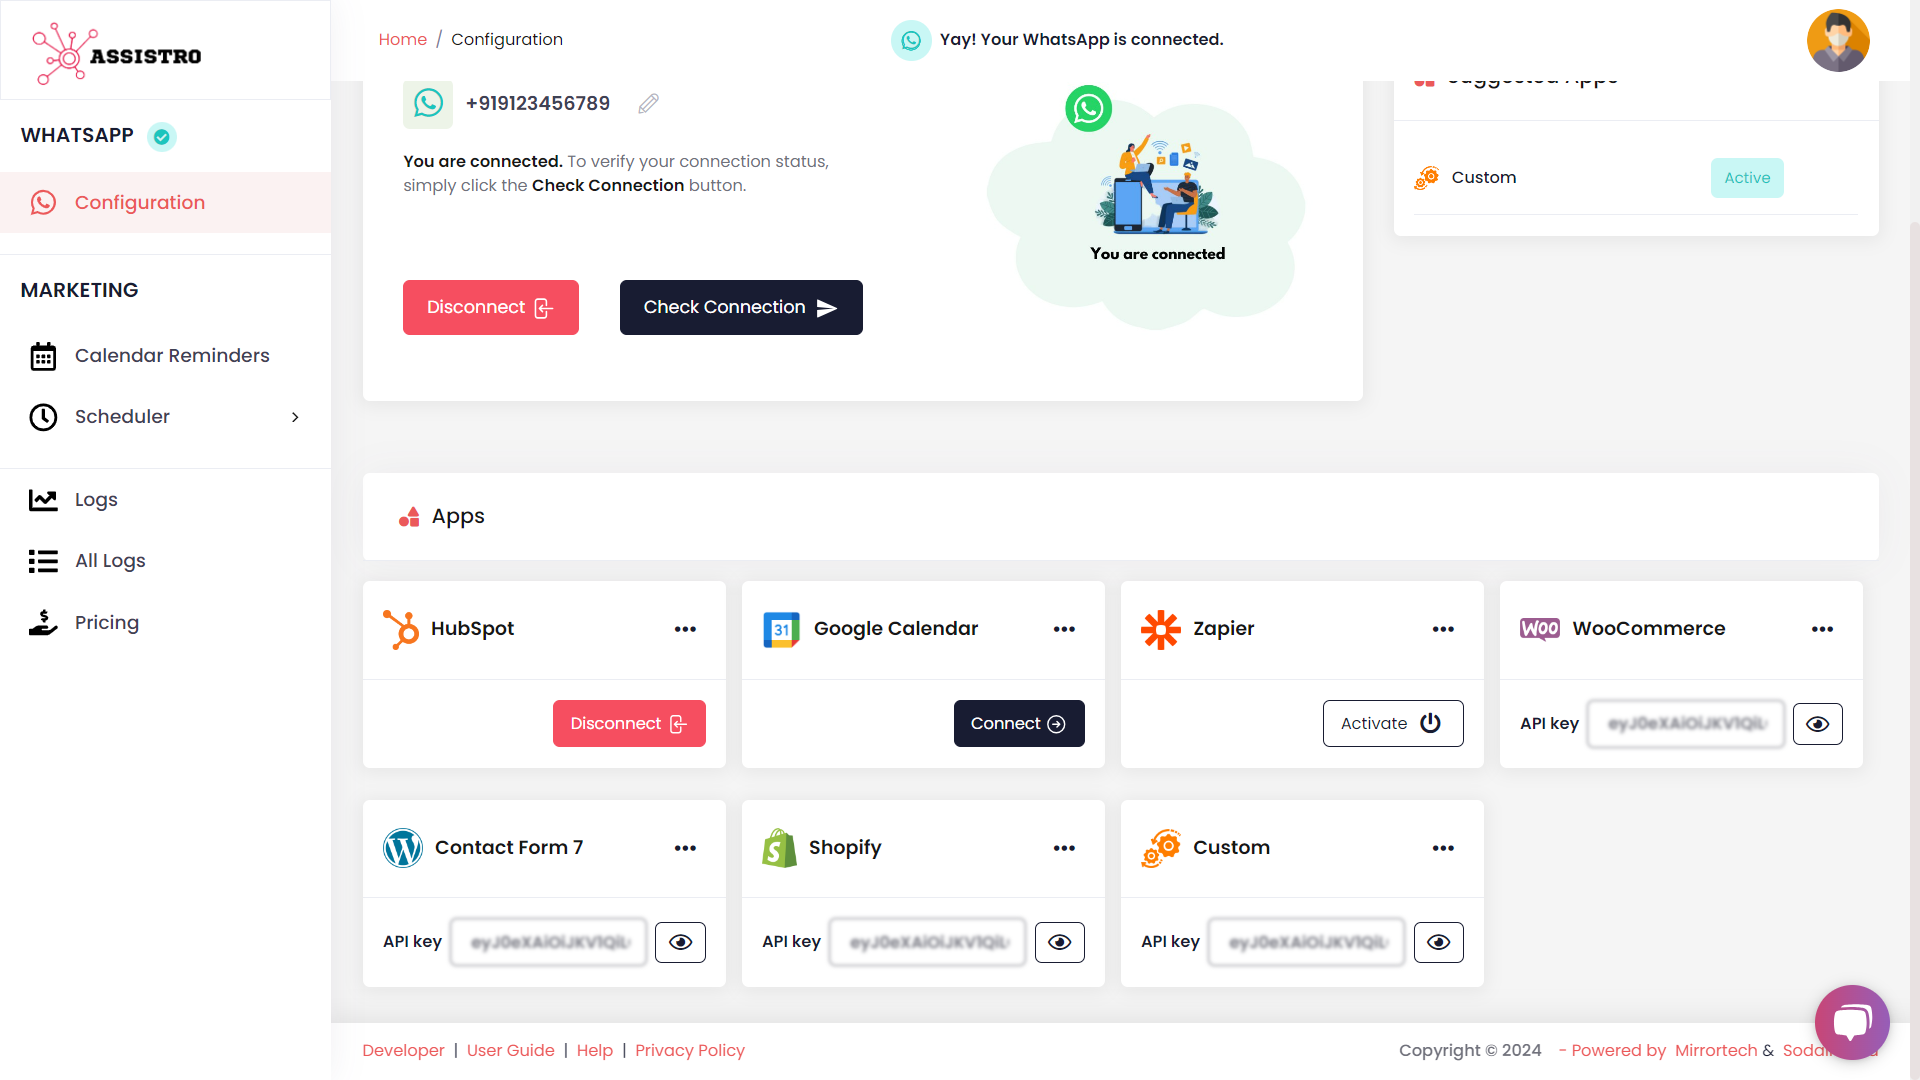
Step 5: #
Once you select your HubSpot account, your application is connected with HubSpot.Now you are all set to use the WhatsApp API with HubSpot workflows.
 Step 6: #
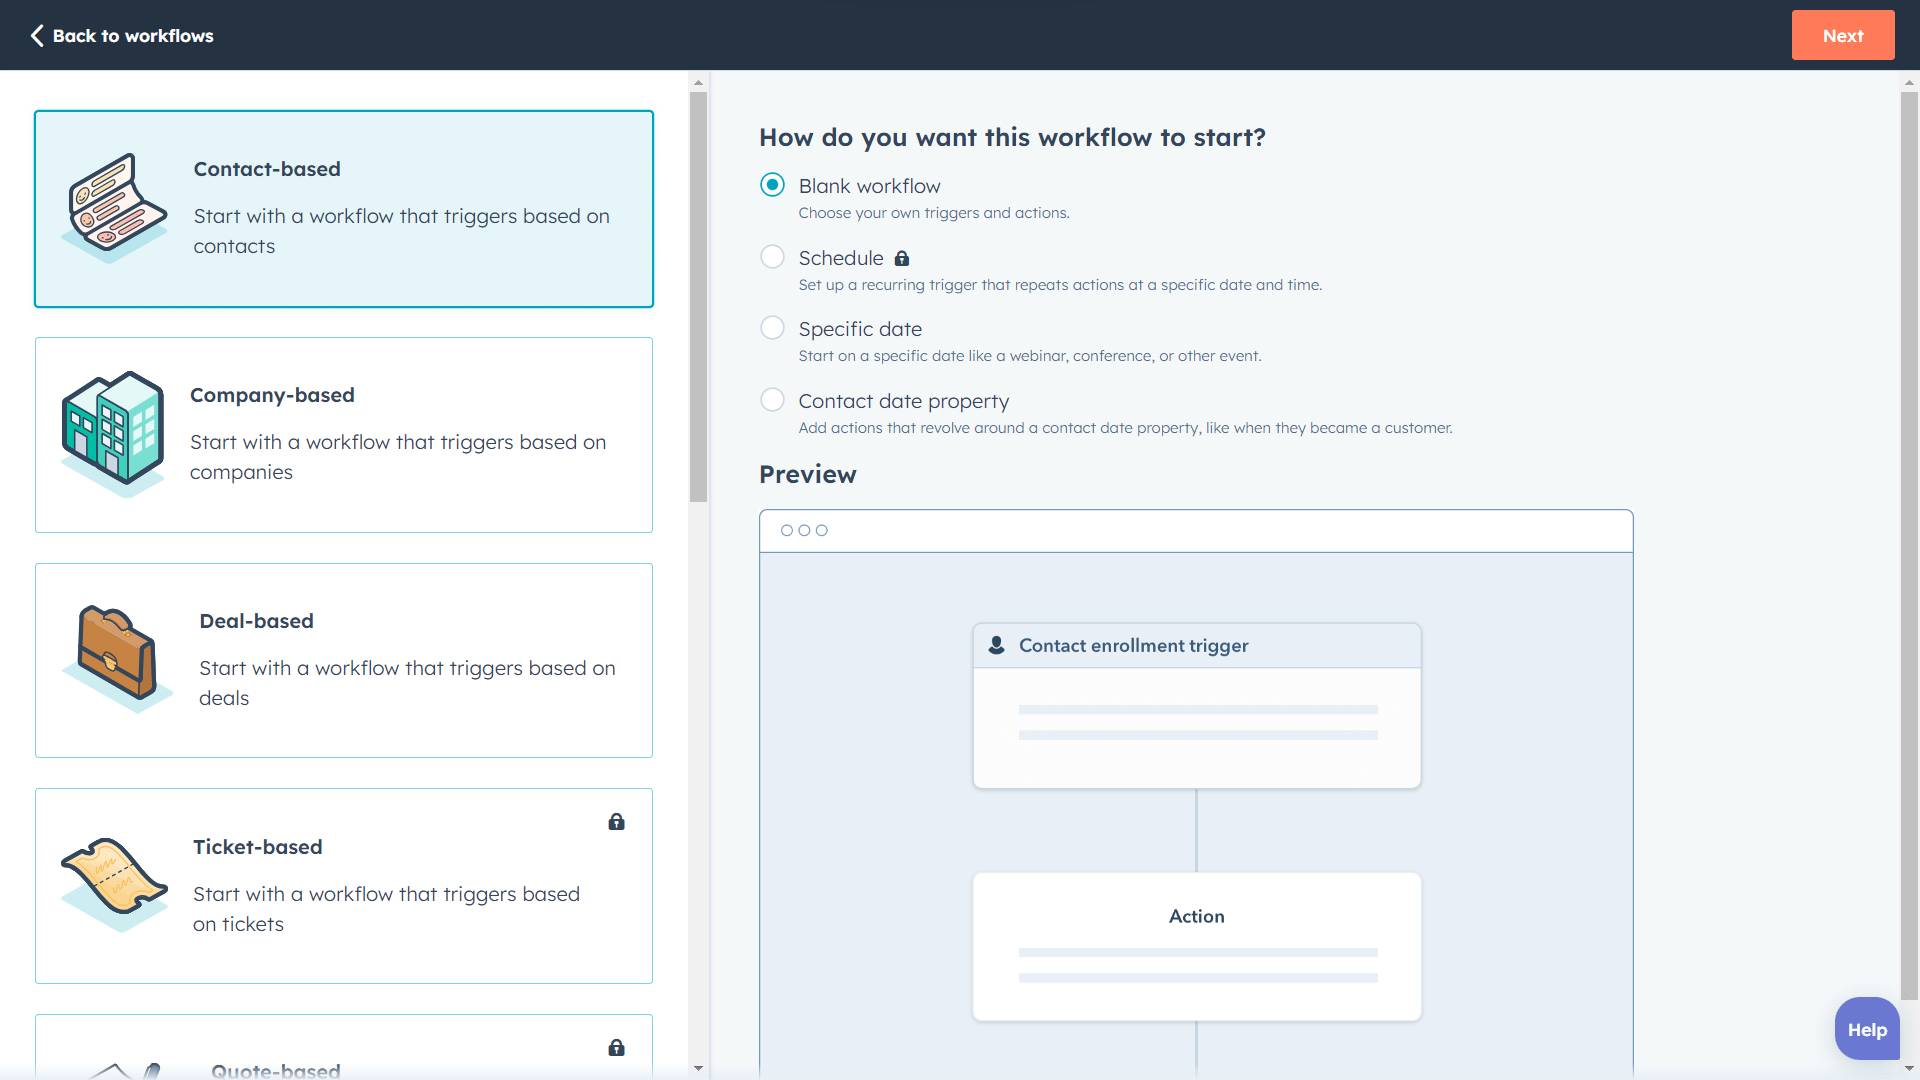
Now, you will need to create a workflow on HubSpot. Select a Contact-based, blank workflow.
Step 7: #
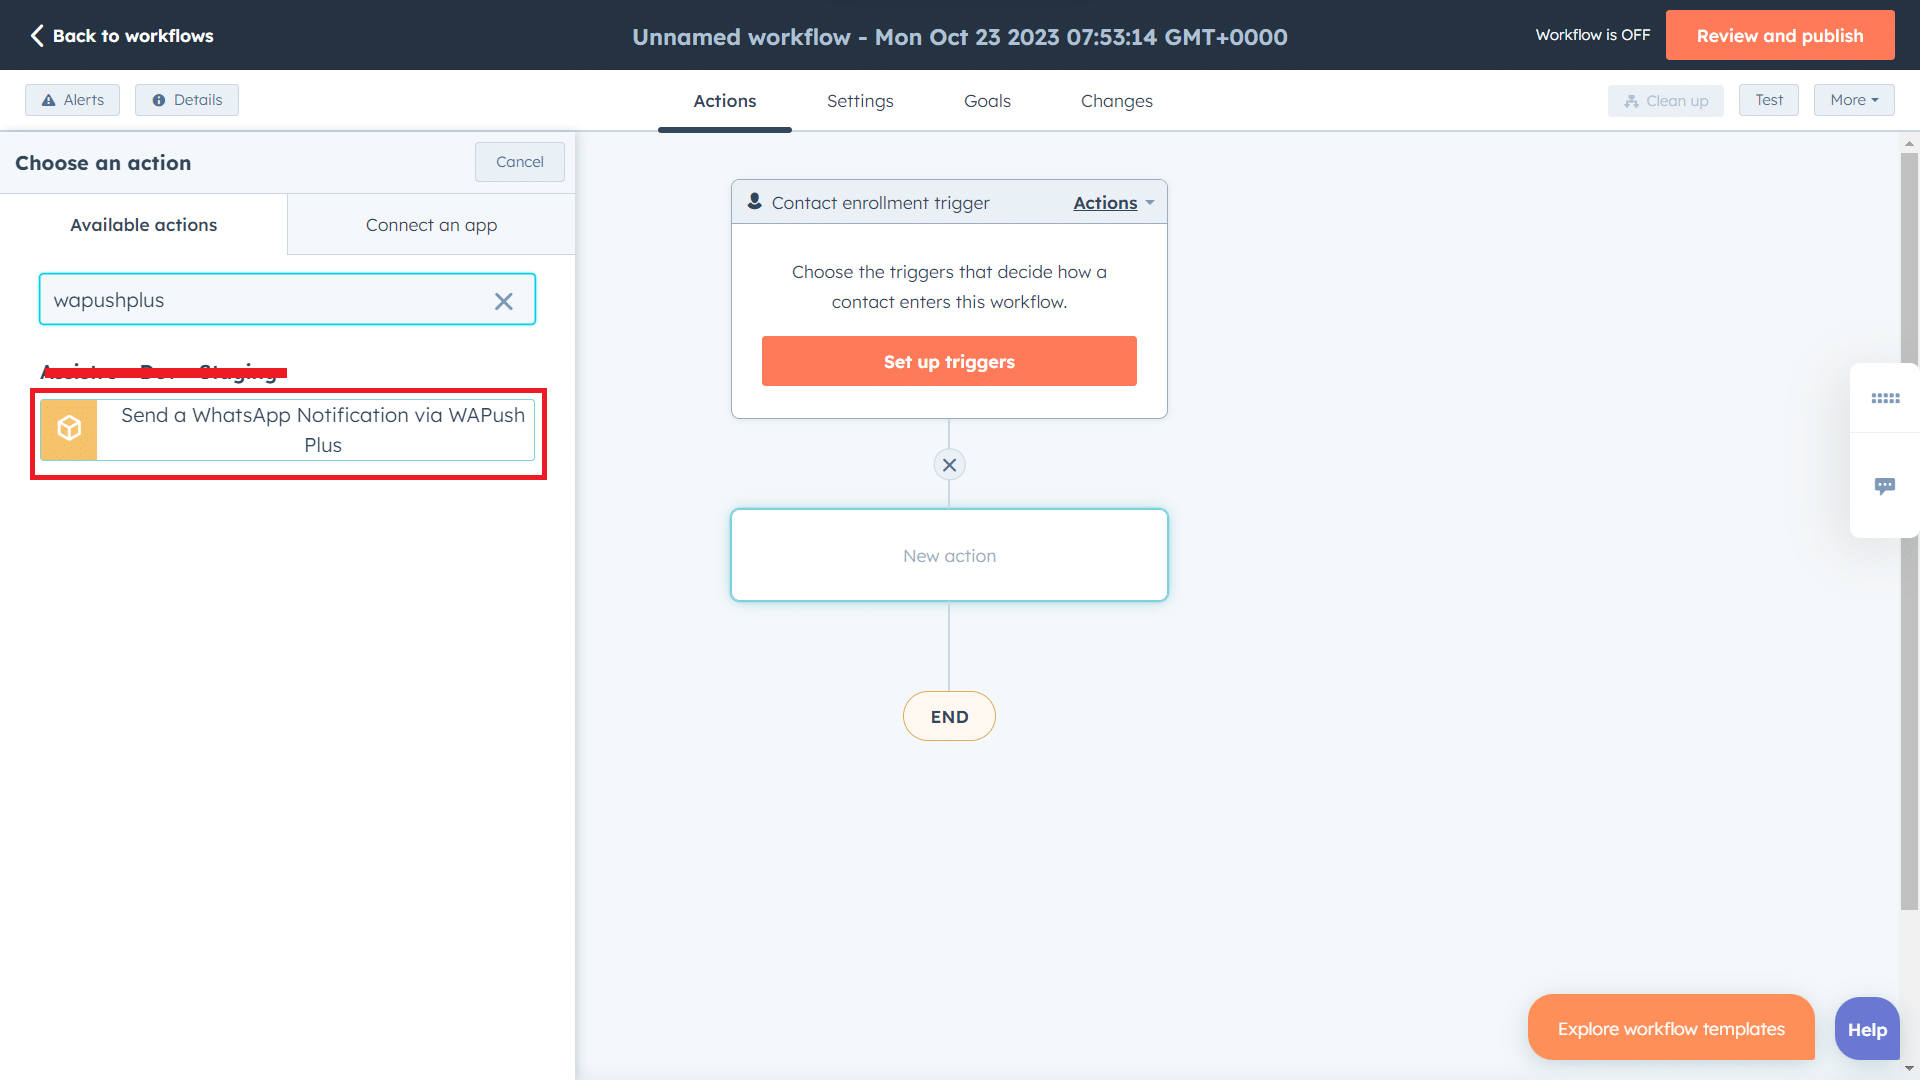
Setup triggers as per your requirement, click on the “+” icon and search for WaPushPlus, you will see the workflow action there.
 Step 8: #
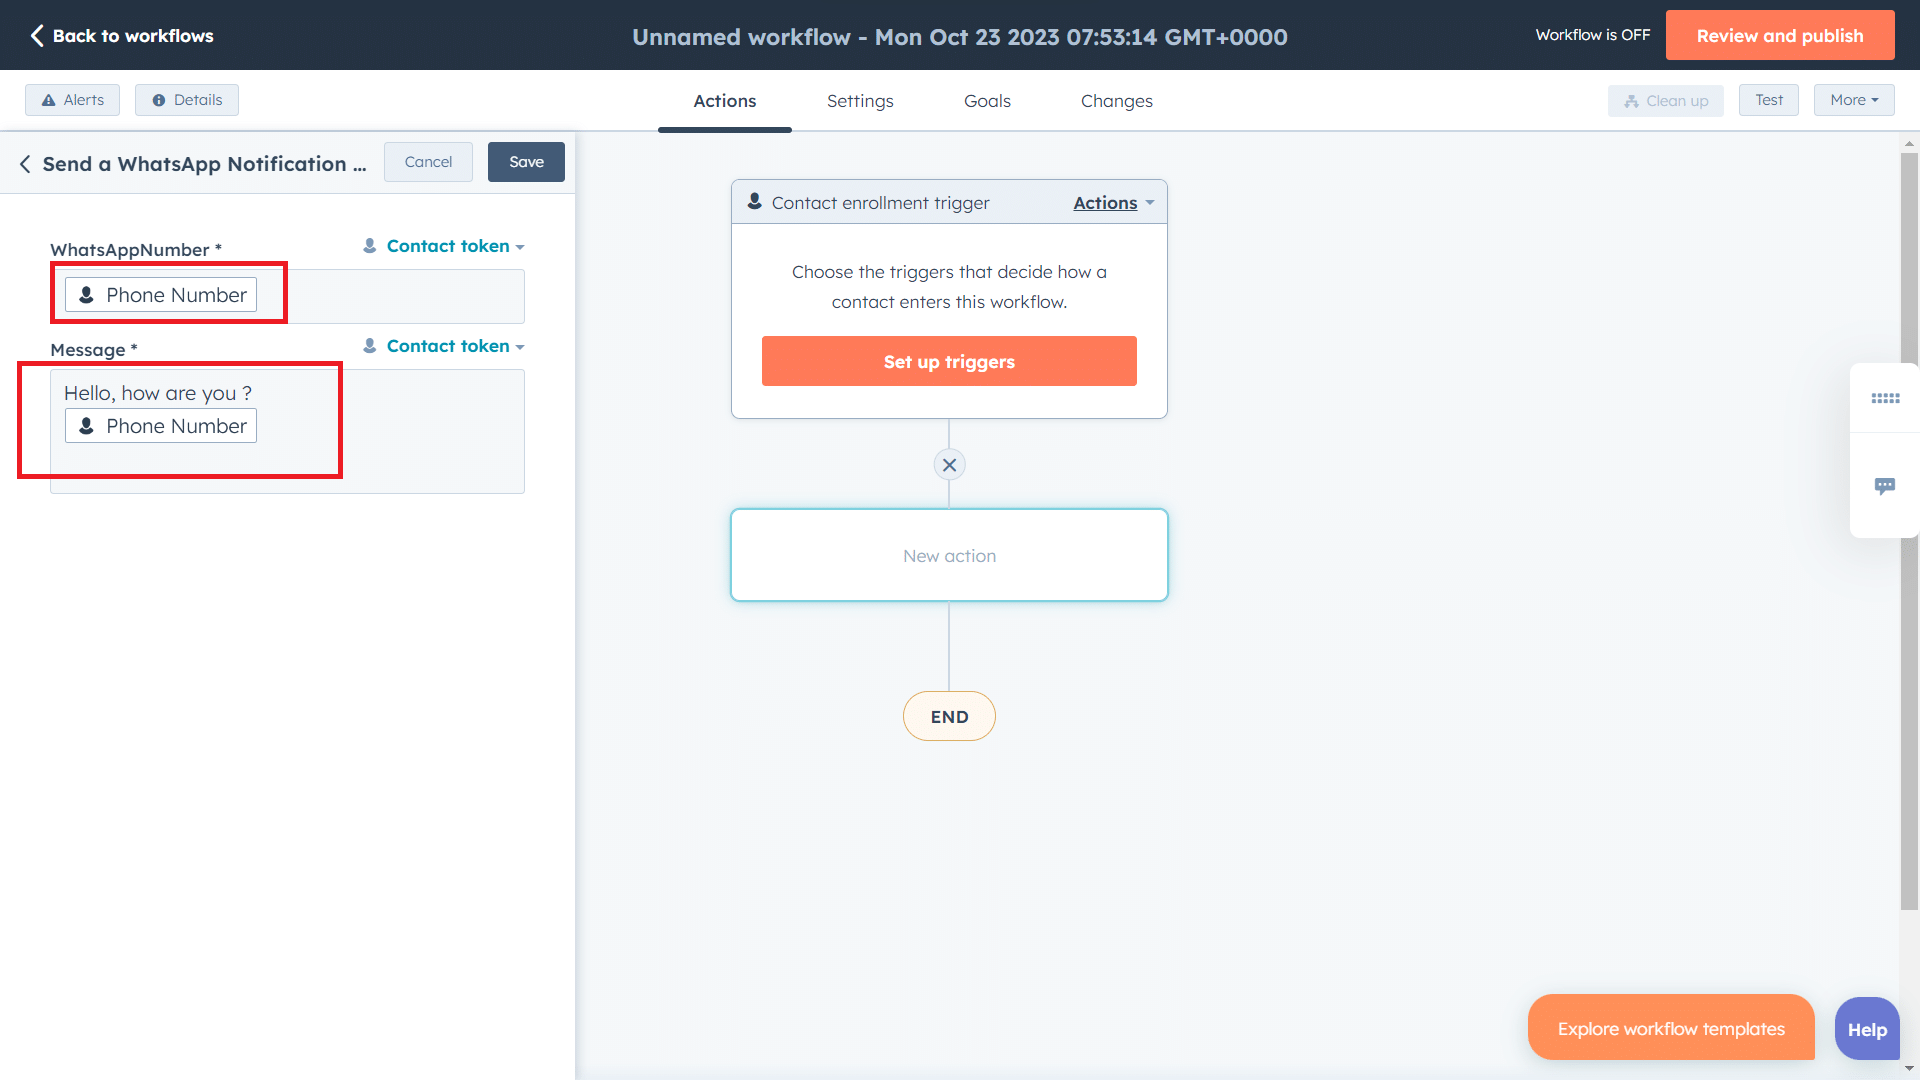
Select Phone Number as contact token and enter your desired message and click on Save.
 Step 9: #
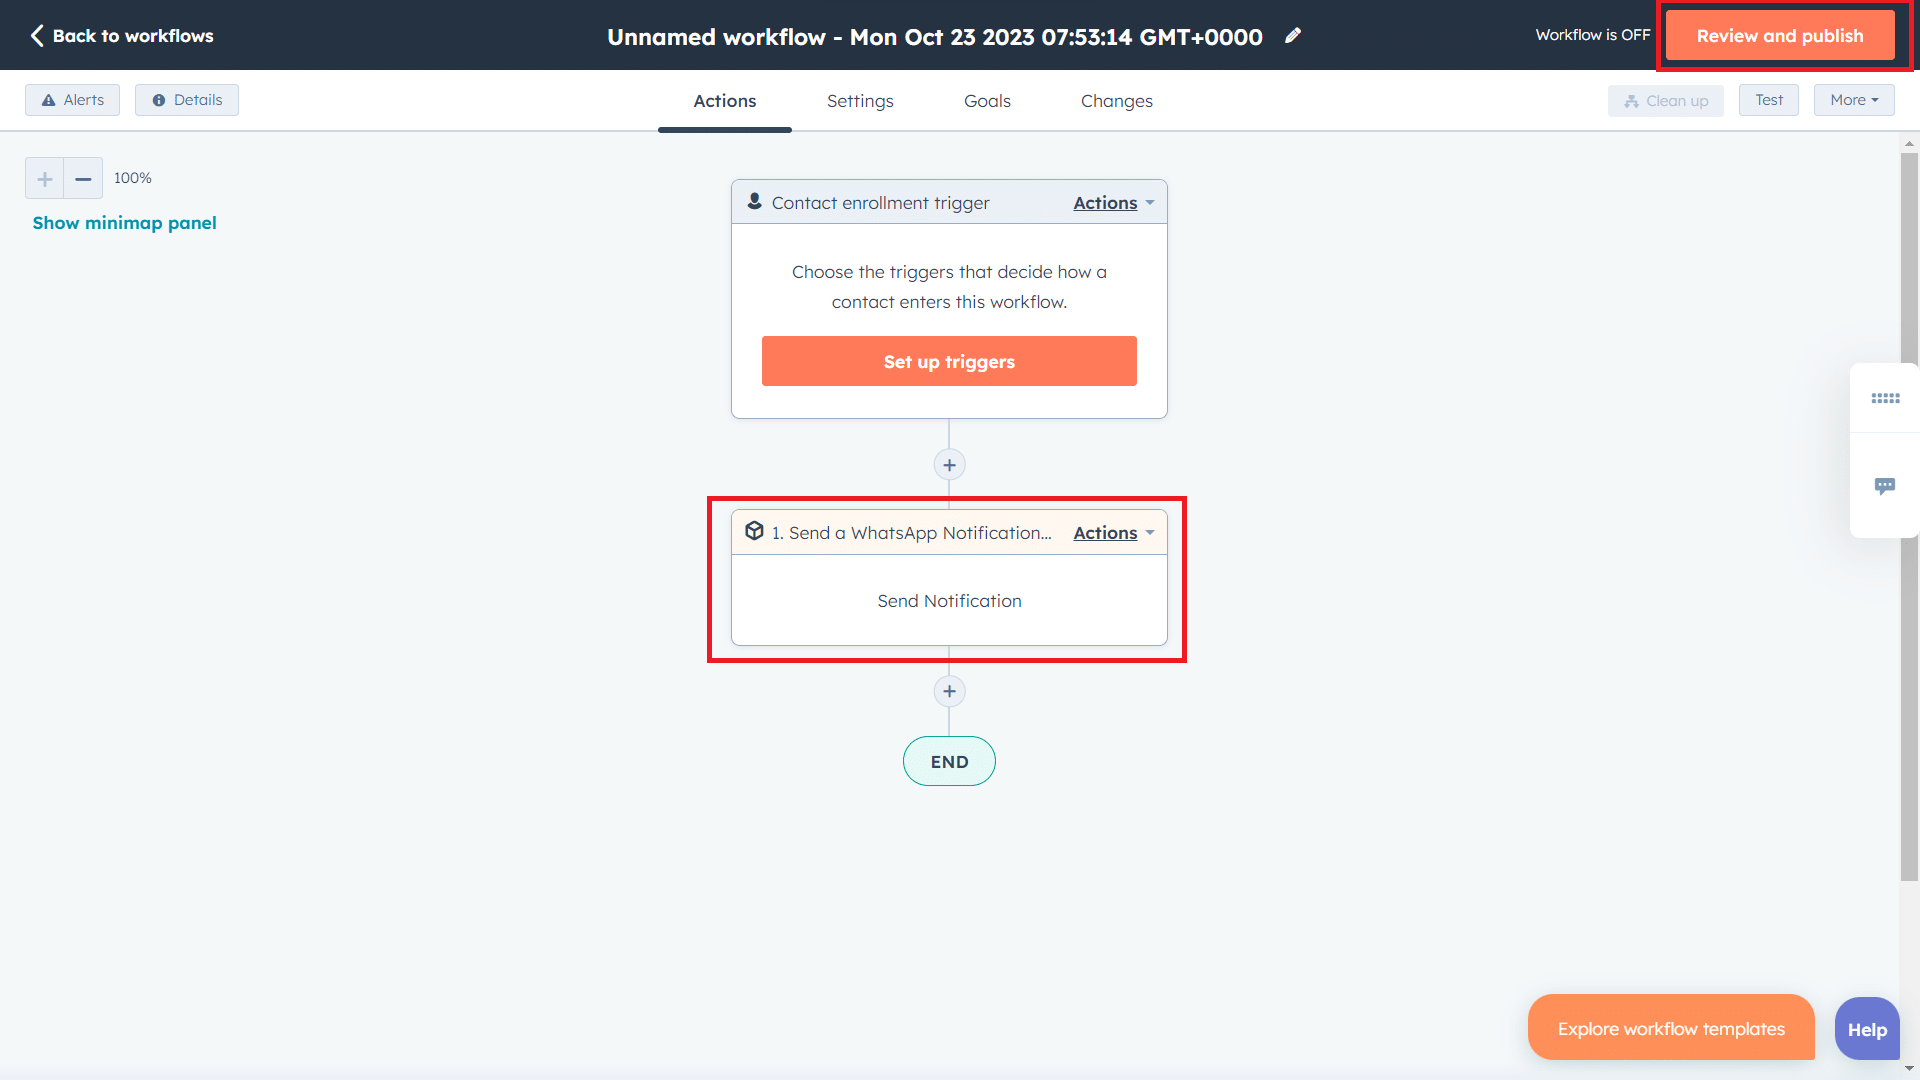
Once you have saved your details, you will see the action tab of WAPushPlus, Click on Review and Publish & turn your workflow on.
 Step 10: #
That’s it , now a WhatsApp message will be sent to the contact, whenever you save a contact in HubSpot


